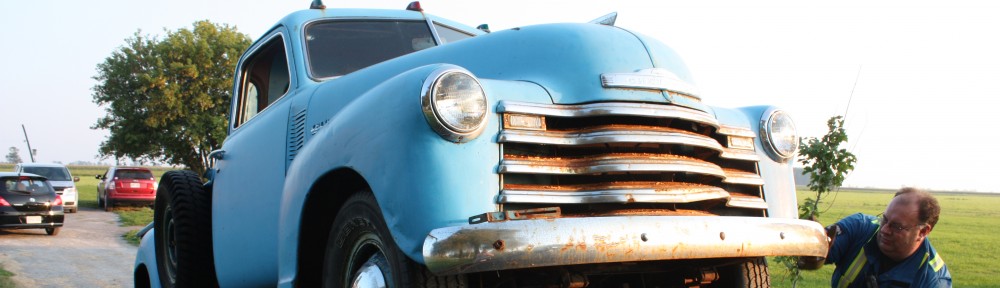
When I got the truck off the flatbed (on a Wednesday), I remember thinking to myself – “All I need to do is get the brakes working, and I’ll be driving it by the weekend!”
Sept 1st – that was the day I arrived in my driveway.
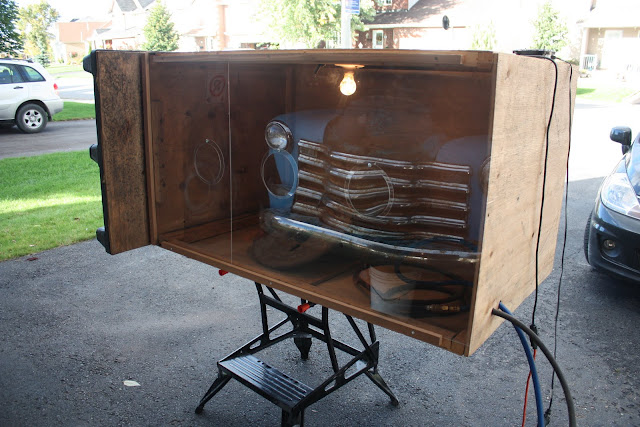
October 19th @ about 11:00pm, is when it left my garage, and was able to brake under its own power! About 50 days! And that was with me working hard to get it done! Hardly the couple of days I thought it would take. I would learn SO much about how these brakes worked over the next 50 days – not only the brakes, but the bearings, seals, steering, rear diff – pretty much anything I had to touch to get at the brakes. It saw the creation of my sandblasting cabinet (with much help from my dad!)
Keep reading to see why it took 50 days, and several hundred $$ to get this truck to stop! An accurate introduction the world of restoring a vintage auto.


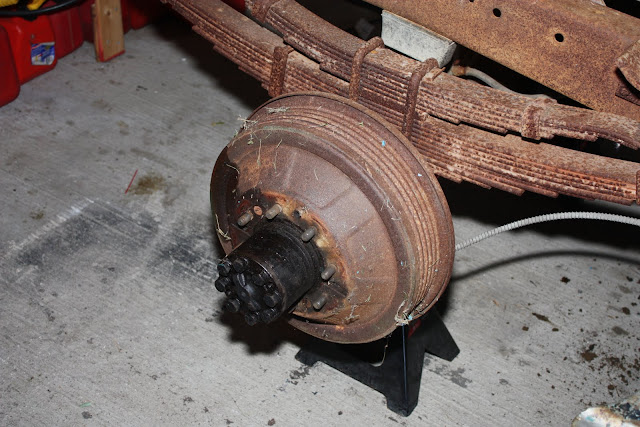
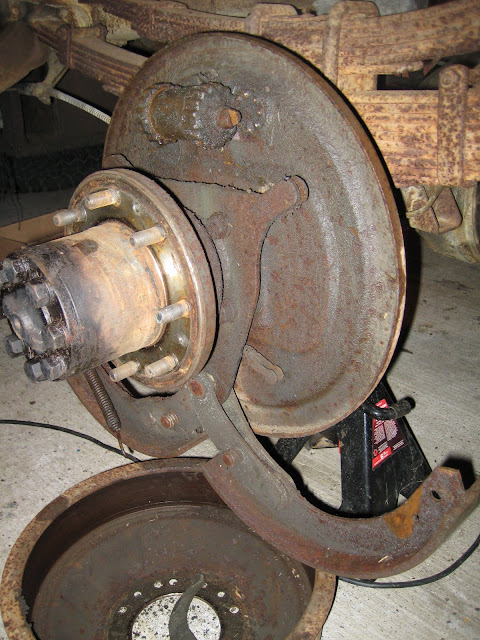
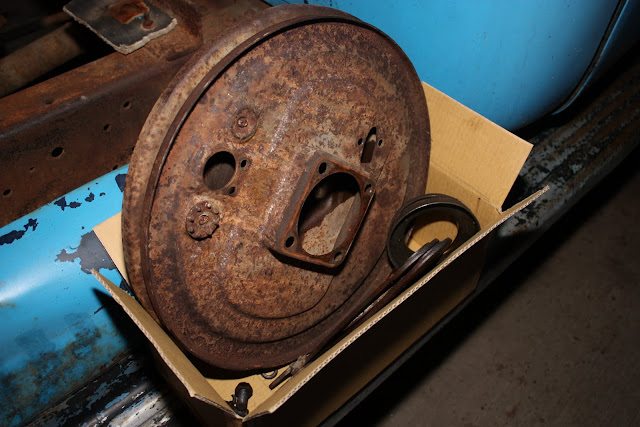
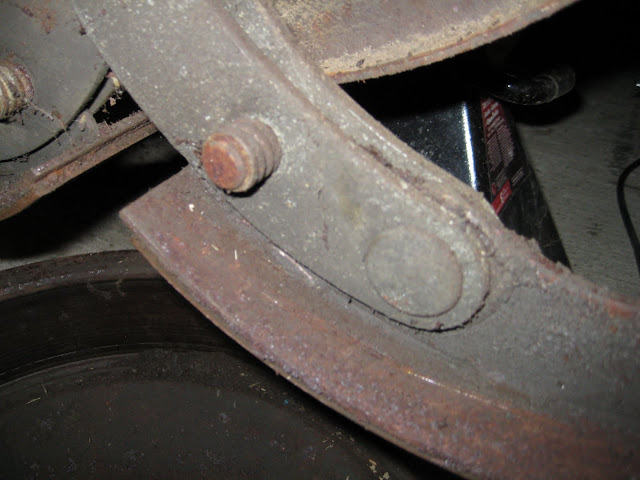
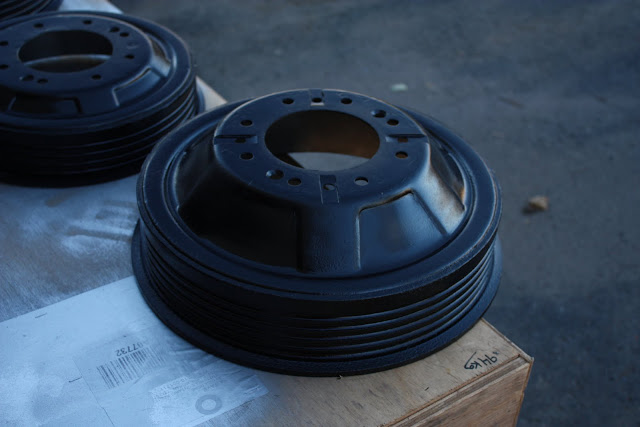
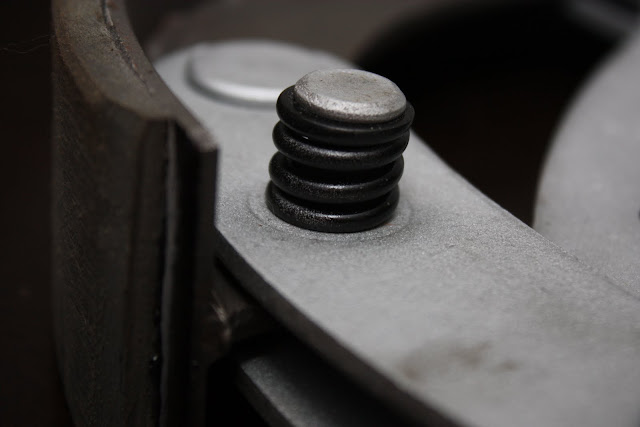
First thing was to get the drums off, of course its 4 wheel drum brake, no disc brakes 60 years ago. With all drum brakes you loosen the shoes with the adjuster and then slide the drum off with a little elbow grease. On the back brakes of a 1 ton with huck style brakes, you use a wrench of socket to turn a bolt (left), this bolt loosens the shoes on the inside by collapsing the cylinder. (right)
One one side, the bolt snapped free of the gear, and on the other side, the teeth sheered away, all because the cylinders were both seized, and had no intention of being adjusted. On each front break there were TWO adjusters, one for each shoe. Between the both front wheels, only ONE adjusted I could move (of 4!) As this point I resorted to oil and and a sledge hammer! I soaked the pads, and hammered for days on end working on one wheel at a time, until I finally got all 4 off! It was hard work, I cursed and cursed some more, and pounded my finger with a sledge hammer more times than I can count. There are no photos of these sessions, I was not fun to be around!
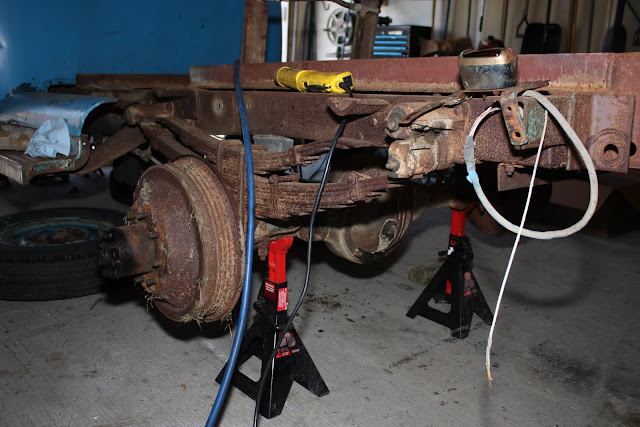
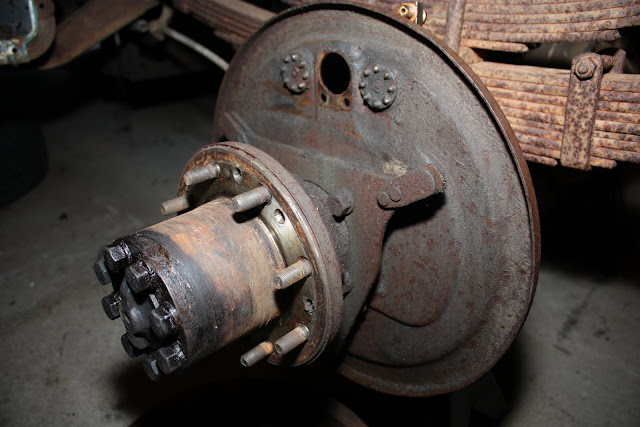
After getting the drums open, everything else came apart pretty easy. After all, it was soaked in oil, not just the stuff I sprayed, but differential oil as well, the seals were gone. Add it to the list.

Now that I had the pads off, I could get them relined. I was misinformed when I thought the pads would be riveted on, but that is only the cae for 1.5 ton trucks and larger. My shoes needed to be stripped of the pads and relined. I had no idea this could even be done until I started looking into it. Apparently this is still done with the big brakes on crane mechanisms, so a local shop in town, Ottawa Clutch was able to reline the pads and resurface my drums for just under $400.

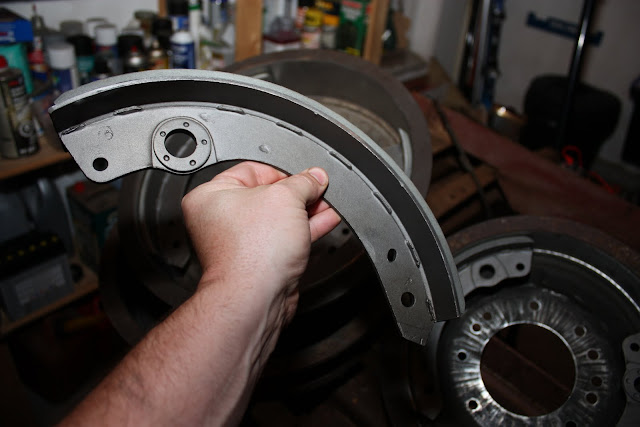


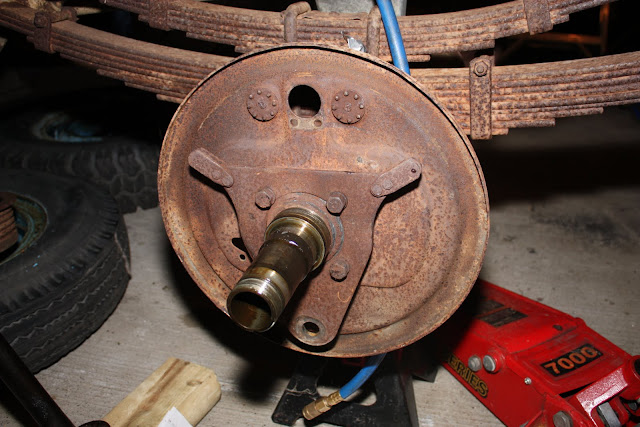
From that point on there was a lot of sandblasting and painting of break parts.


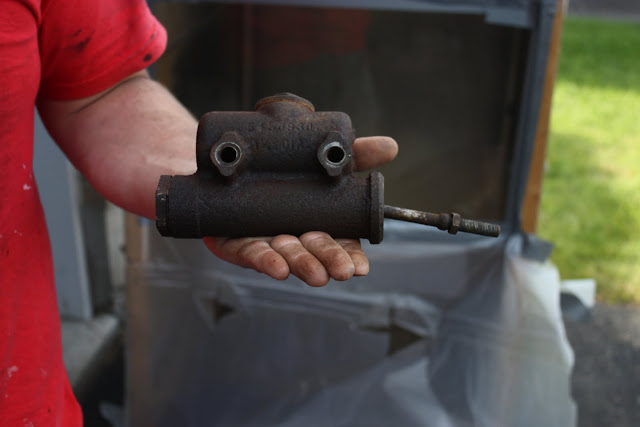
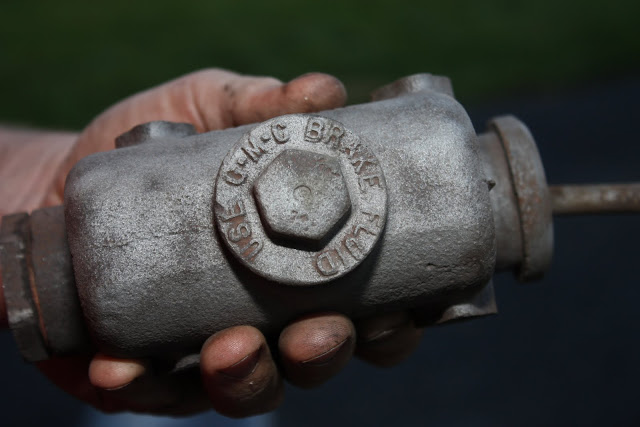
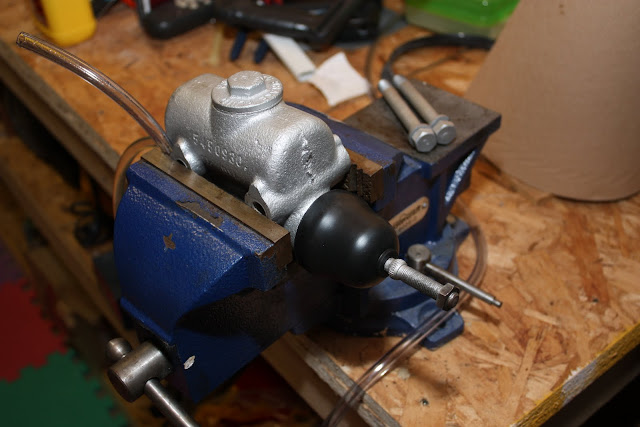
As well as the cleaning and rebuilding of the master cylinder. The rebuild kit was very affordable from rockauto.com. I ended up buying my all replacement wheel cylinders from these guys too – all said about $250.


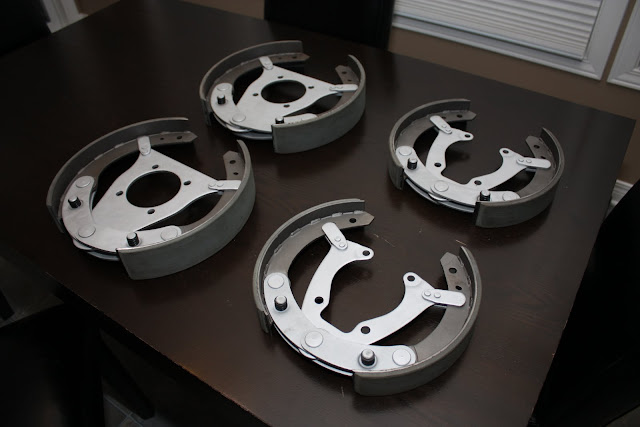
Until finally I would reassemble the brake assemblies, and install them! (They were so clean I put them on the kitchen table!


I’m doing a frame off restoration on the exact same truck. I’m from Toronto Cnanada and my truck comes from Saskatchewan and our experiences are so similar it’s crazy. I have decided to remove the dump option from mine to save money and so my box will line up and bolt onto my running boards. My frame is finished and painted along with the engine and transmission and back in the frame. I’ve just completed all of the metal work in the cab and it’s like new except I’ve run low on cash and could only afford epoxy primer at this point. Myself and my kids re-installed the cab the other day and it’s starting to look like a truck again. Anyway, I’ve enjoyed reading about your truck and I’ll use some of your advice while I finish mine.
All the best,
Brian
Hi Brain,
I’m just starting to restore a 1949 5 window chevy pickup and I cannot figure out how to get the pins/clips back together in the front brakes to hold the brake shoes in. Am I missing something? I have pounded and pounded and I cannot get the clips back on the pins. If you know the answer to this I would be extremely grateful. Thanks in advance for your time!
Are your brakes the same as mine? Huck brakes?
If so – are you referring to the pin with the spring on the front side, and a clip on the back?
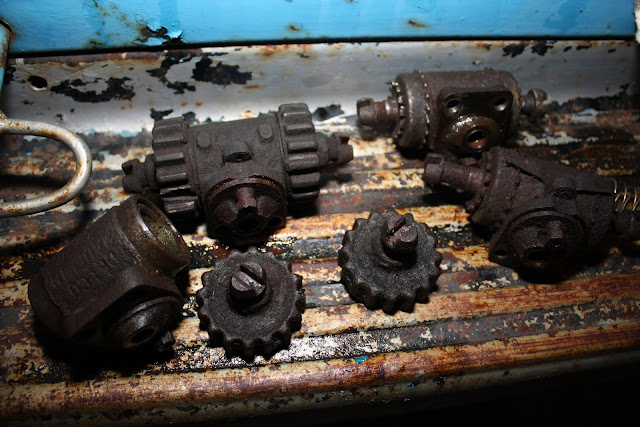
Where di you find the new adjustment wheels for the rears. The things that turn the wheel cylinder adjustments? I can’t find them anywhere
Rockauto, both front and back.
http://www.rockauto.com/en/catalog/chevrolet,1949,truck,3.5l+217cid+l6,1486933,brake/wheel+hub,wheel+cylinder,1952
Thanks. But I am talking about the actual little silver wheels that attach to the two bolts that come out of the backing plate for the rear brakes to adjust the wheel cylinders. You stated you stripped one sonin assuming you found new ones. I don’t see them on rock auto
Ah yes… I know what you mean. I think it shows in photo 6 of 9 (group of photos) on this page.
No, I ended up repairing the one I had. Are you missing it completely? I imagine its part of the backing plate.
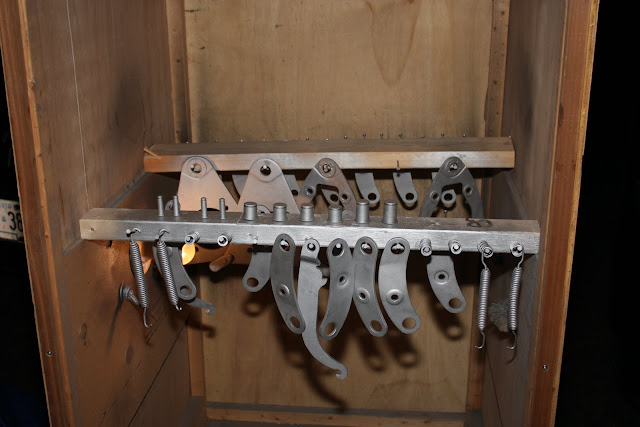
HI great truck and pictures do you know where I can get the park brake levers and links ( the ones contained within the drum) to suit the same model truck 3800 . I have tried everywhere they are unique to a 1 ton truck
I have the 49 work truck 3800 1 Ton – Where did you find 2×12 and 2 1/2×14 shoes for front and rear ?
Are you talking about new hardware or just the pad itself? As you’re likely aware, you can’t buy the complete shoes. I got the shoes relined locally. They do this kind of service for big cranes that have similar brakes. They sourced the pad and installed it for me. It was applied with adhesive of some sort.
I bought brand new brake pads from NAPA for my 1954 1434 or 3800 US Model). Parts# UP-299-R or UP299R for the rear and #TS-310 or TS310 for the front. Yours are probably the same aren’t they?
Not sure. At the time I couldn’t find any.
they have rear listed but out of stock do you you know which way the ecsentic brake bolts goes in relation ship to emergancy brake lever
great pictures! you just helped my husband put his rear brakes back together. couldn’t find pics anywhere and I found your story. thanks for taking the time to do this.
Wow – that’s awesome to hear! You’re welcome!!
notice your truck has a couple of colors to it. ours was champagne interior and had the dark blue like yours on the firewall but looked light blue on the outside. any ideas on which color would be right?
Hello, I have a question on how to remove the old brake shoes on these. I found replacement shoes for my huck brakes but I cant get the old ones off. Theres a spring with a pin and also what looks like a U ring that holds the shoes to the plate. As in your picture above (2 of 5). How do I remove that? Please help!
You have to push the pin and spring in while pulling that U shaped clip off. Use a small flathead screwdriver to pry it off.
The odd and flimsy retaining clip on the 7/8 pins holding the rear shoes in can be ‘up-graded’ by using a newer style 7/8 circlip – it would appear. Not sure if I’ll weld the old adjusters, or widen the backing plate hole and simply use a common brake adjuster tool to turn the adjustment wheel directly.
Thanks, I finally got them off and was able to change the pads. I did replace the old clips with newer type ‘circle’ or u clips.
How were your kingpins? I too have a 49 1-ton and when changing the front shoes I noticed there’s a considerable amount of wobble to the kings. Did you have to replace yours by chance?
-Mike
Yes, had to change 1, the passenger side. It wasn’t too bad a job after I read up on it.
Just got into the first of four corners on my 1949 project – with both adjustment wheels separated from the adjustment bolts on the rear.
Sure would be nice to have a replacement plan that didn’t involve buying backing plates – assuming these can even be found.
Before I owned my welder, I used JB Weld – has held up so far!
I’m working on the rear brakes of my 1950 Chevy 3800 dual axle. Did you have to pull the rear axle to get the rear drums off, or does the drum pull off over the studs. Thanks, Shawn
The drum pulls over the studs… and man, it was a real treat.