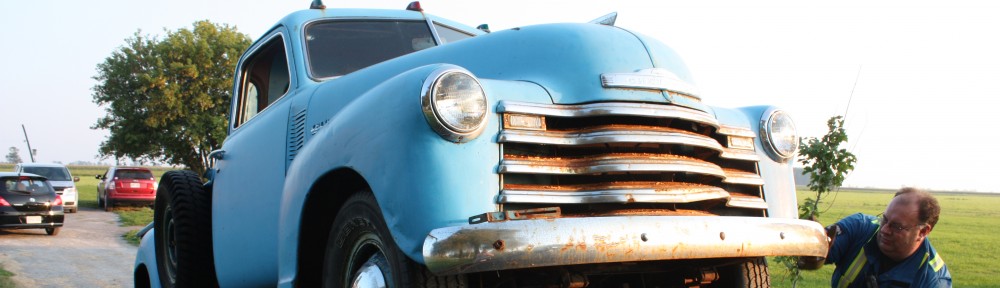
 The carb off of my 216 was Carter. The 235 has a different manifold with a larger bore – the 216 Carter was not going to bolt on. Using the manifold off the 216 on the new 235 is an option, but I figure if the 235 was meant to run with the bigger intake ports, why narrow them.
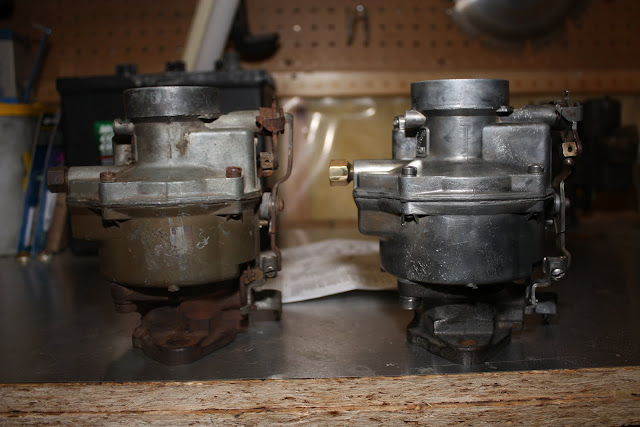
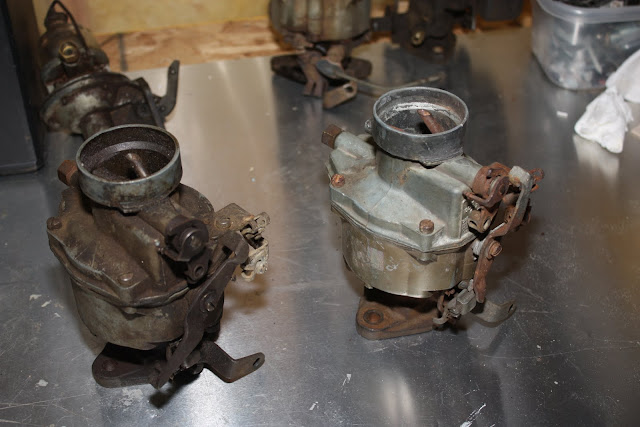 So I managed to secure two carbs from an online friend (Thanks Robert!) I met on the Stovebolt. The carbs are Rochester’s, and amongst the Stovebolt community, less desirable than the Carters. That’s fine with me, Chevrolet used them for the longest time, so good enough for me!
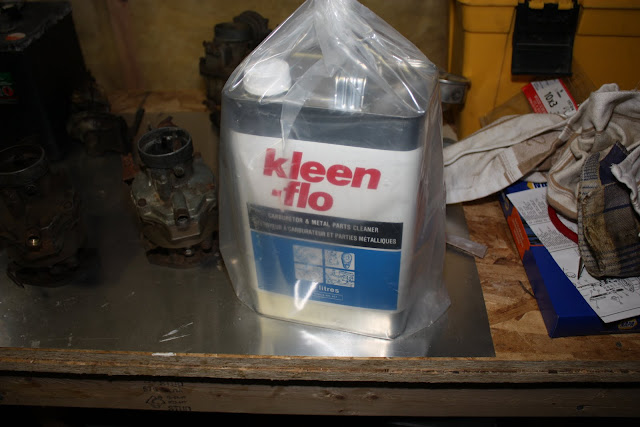 I had done my share of reading on how to rebuild these carbs, and basically I needed some carb cleaner, a carb rebuild kit and maybe some compressed air. The carb kit and the carb cleaner I got from NAPA Auto Part. The cleaner wasn’t cheap. It seems its cheaper to get in the US, but I eventually paid almost $60 for 4L. The rebuild kit was just over $20, and covered a couple of different models of the Rochester – supporting auto and manual choke.
– A word of caution – Carb cleaner is the WORST smelling stuff ever made, and the scent lingers! I was stuffed up with a bad cold when I opened up this stuff and wasn’t aware until I sneezed how bad it was! I cleaned up a few spills and drops with rags, and set them aside. Days later I had to find ANYTHING that touched the carb cleaner and dispose of it, the house smelled BAD! (and my wife was not too impressed) Some might be asking why do this in your basement, sounds like an outside job. This past week saw temps of -20 C. My garage is not heated!
 I picked up an empty paint can from Home Depot for $5. Came with a handle and a lid. It was perfect. I then found an old kitchen strainer that we had replaced when it started rusting, this would be a perfect small parts basket, once the handle was modified.
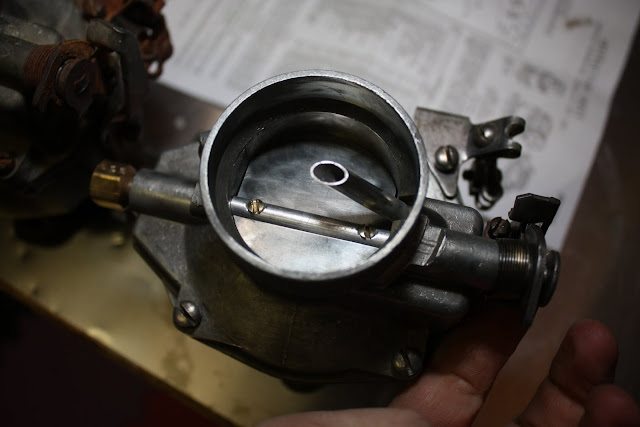
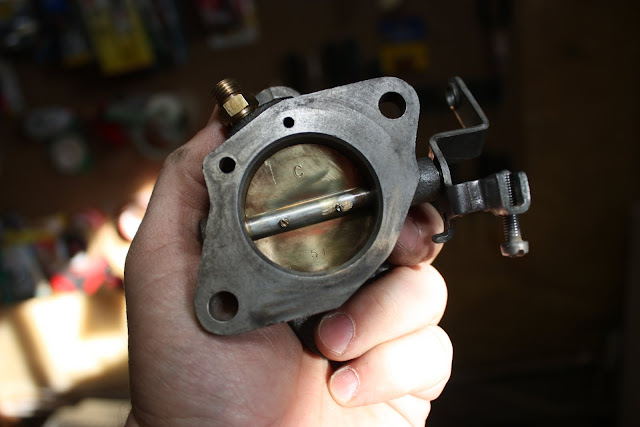
Having two carbs to work with was nice. I pulled the best parts from each carb, and kept the second one mostly assembled as a reassembly reference. It amazing how much sand and dirt gets in one of these carbs after 6 years. The follow shots show the disassembly.

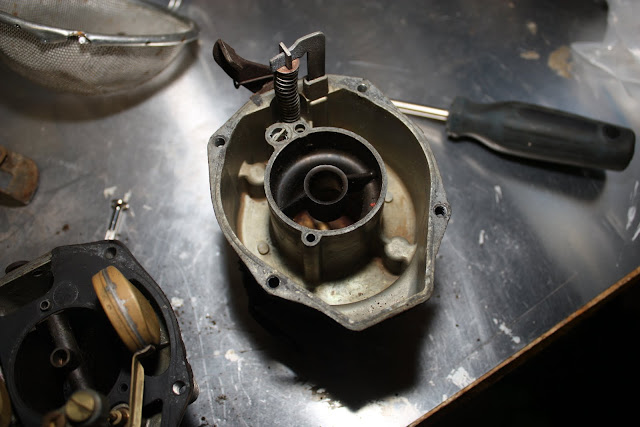


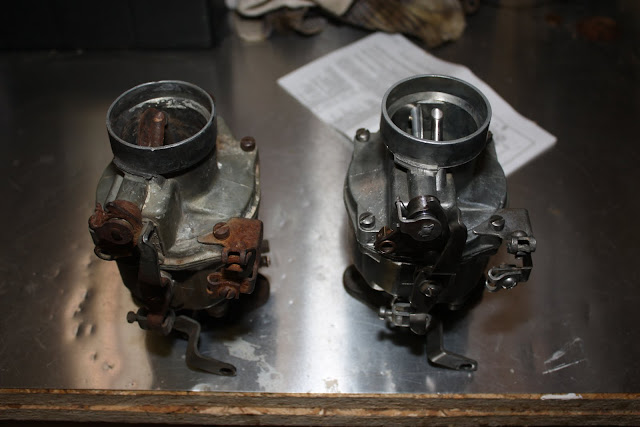
After pulling it out of the cleaner, I gave it some brass wire brush attention to get off the large debris. I then used a small wire brush attachement on my Dremel to clean up, buff and shine all parts. I also used a spray can of carb cleaner to get all the small passages. Then it went back together pretty much as fast as it came apart!


Once the 235 is back together, my abilities to rebuild a carb will ultimately be tested!
Hi I clen my carbs in boiling water works the best; my father did it years;; I just did a Mopar 6-pack