Picking up an original tube radio for the truck was the perfect opportunity to keep me busy during the 2010 winter. This would be the 3rd tube radio I’ve restored, and would prove to be the most challenging.
I started the hunt for an original radio in the fall looking for the winter project. They varied in condition, and I almost bought a few that were in much worse condition by comparison to what I ended up with. Thank god I was outbid! While some of the real rusted, dirty radio’s went for near $300, I won my radio for just over $200! It was a great find. A message to those hunting, be patient – and you shouldn’t have to pay more than $250 for a non-working radio.
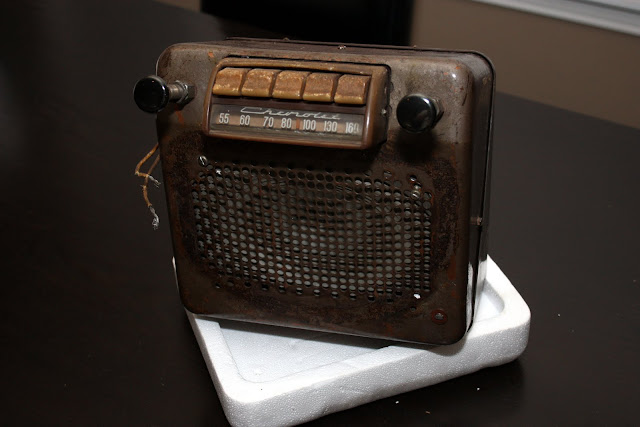
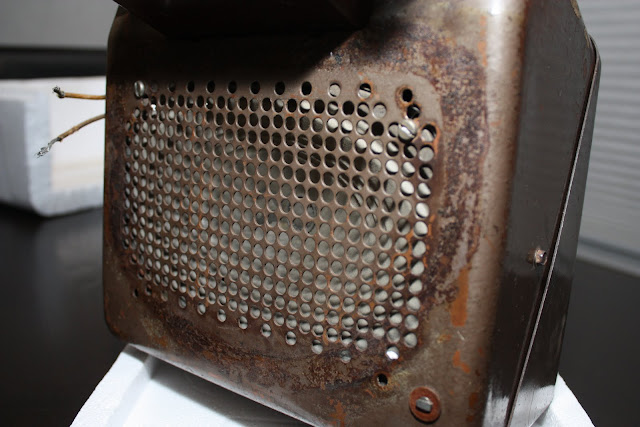
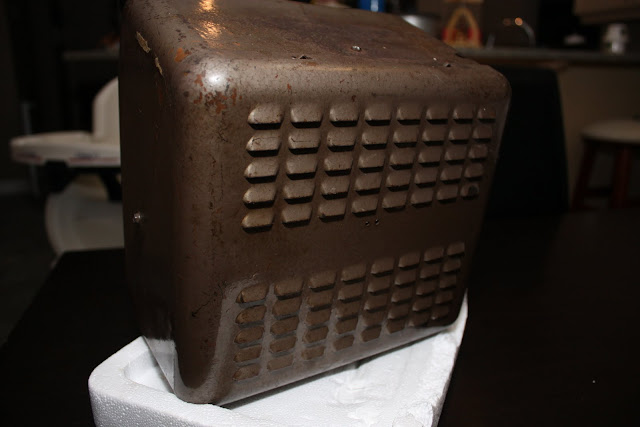
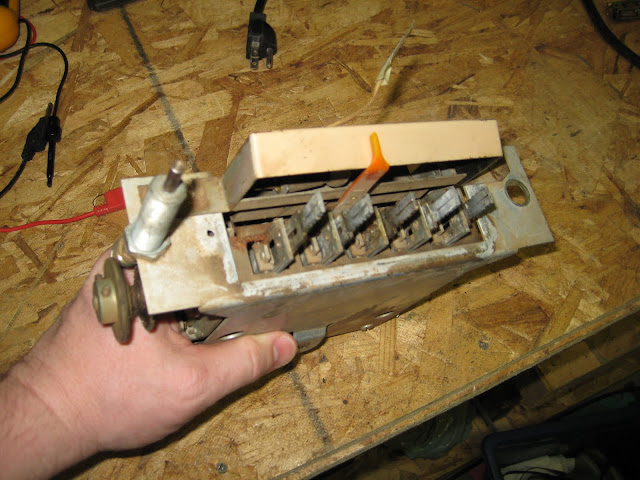
This was the condition of the radio when I pulled it out of its packaging.

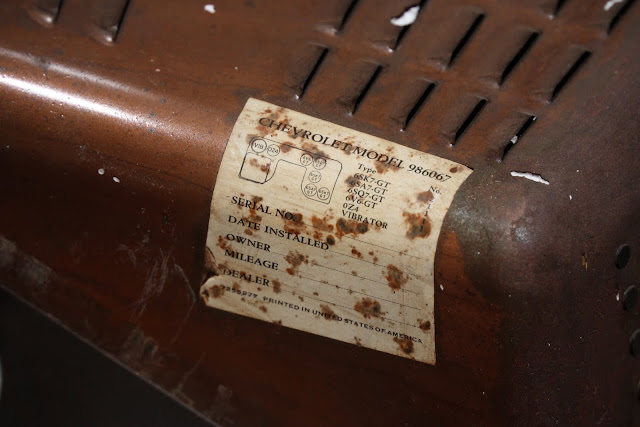

Refurbishing one of these radios does not need a degree in electronics, but some basic knowledge does help. Use of a multimeter is key, and know what a resistor and capacitor looks like! You shouldn’t have to change any of the coils, and chances are if it has all its tubes, they most likely work. First thing you want to do is pick up a copy of the schematics. Some can be found free online, while others you might have to pay a small fee for, I picked mine up for $7 online from JustRadios.com.
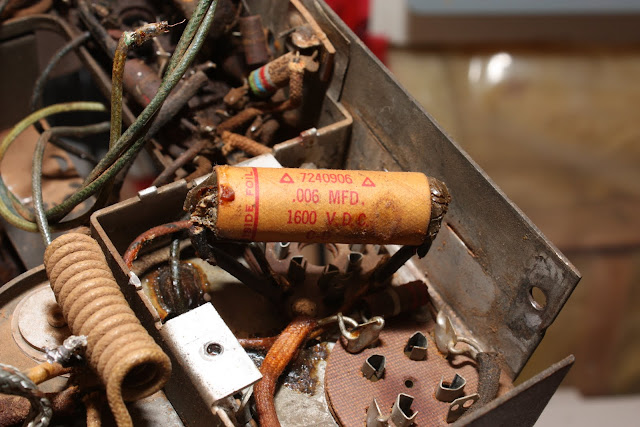
 With a schematic, you are able to clearly see all the capacitors and resistors that were original to the radio. This is important, as the radio is over 60 years old, it may likely have been repaired and had similar but not exact components replaced. This is leads us to the first step in refinishing a radio – replacing all the capacitors.
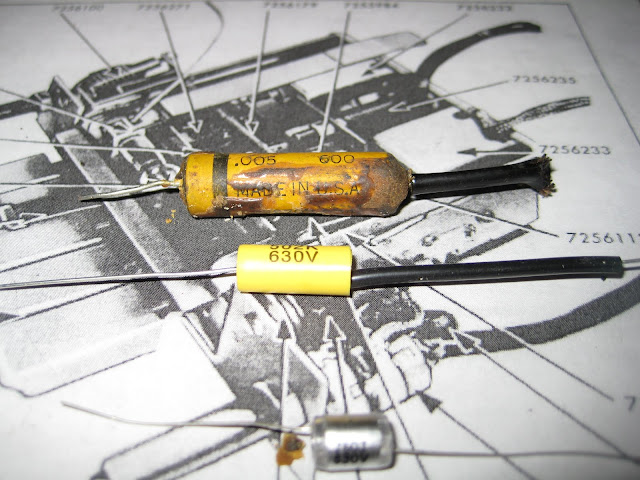
Old and new - same value
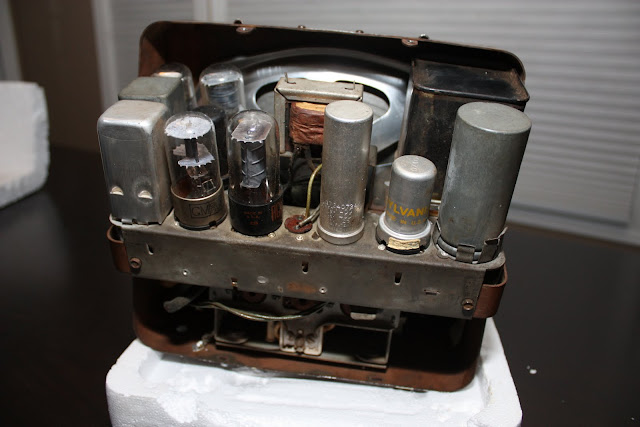
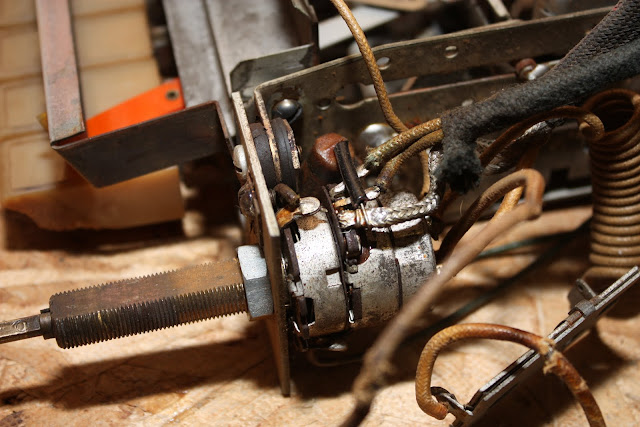
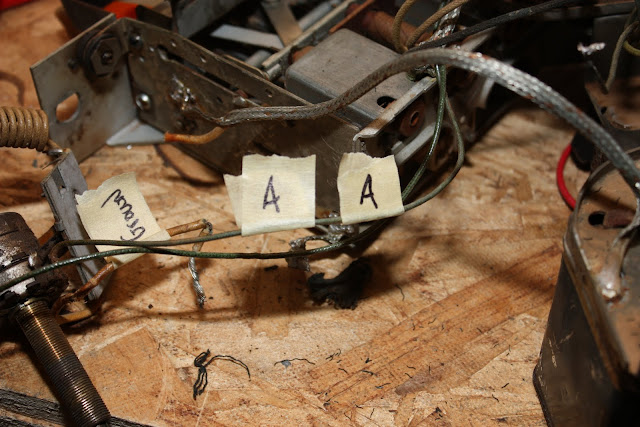
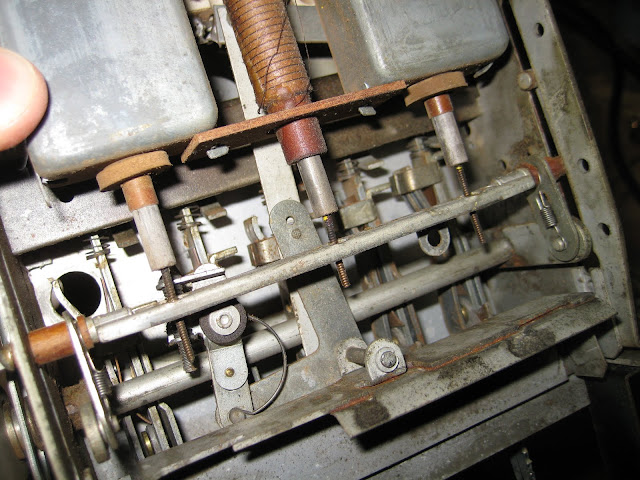
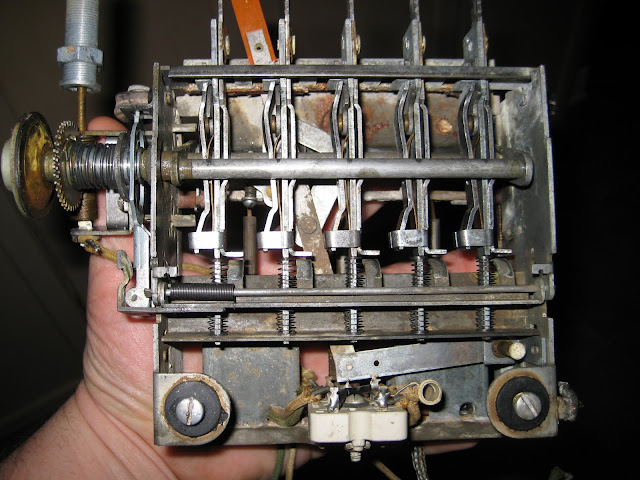
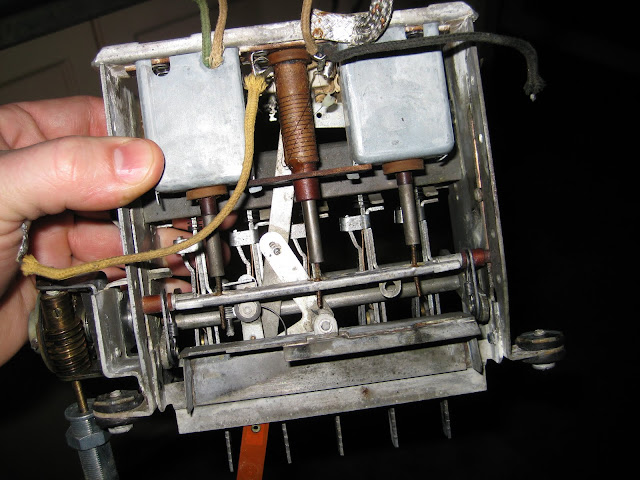
To do most of the work, the radio needed to be disassembled. I take MANY reference photos at this point to give a reference to how it goes back together. This helps when reading a schematic isn’t second nature. When I have to break wires, I label them. As I start to replace resistors, I remove one, and replace it before removing another.


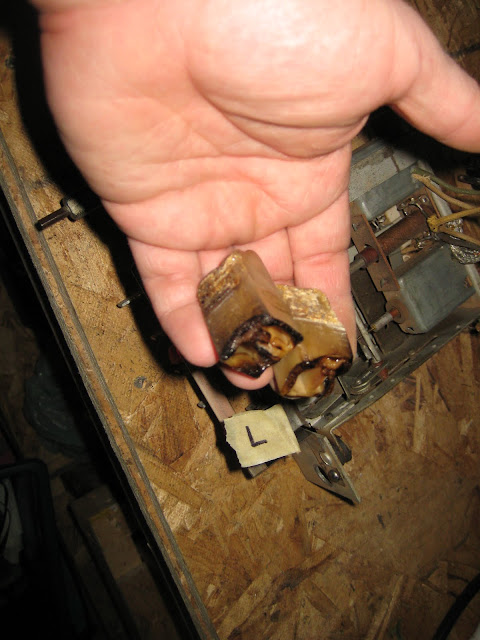
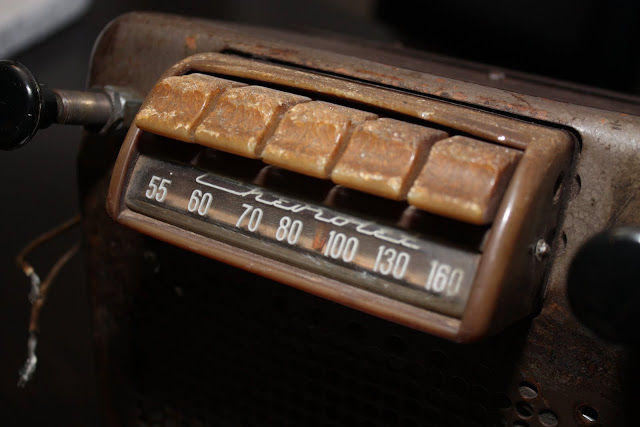
Old buttons removed


Do you have any radios for sale? I have a 1949 chevy 3600 pu
Sorry Ken,
I only have the one I restored. I picked it up on eBay for just over $200. Are you looking for one fully restored, or are you willing to do some work? You can expect to pay around $500+ for a fully restored radio.
Mark