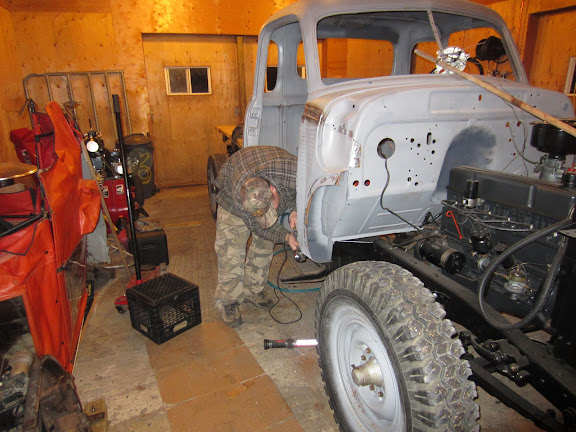
My first work done in the new shop, the passenger side cowl replacement!
Inspired by another ‘bolters work, Woody – I used his photos as a guide.
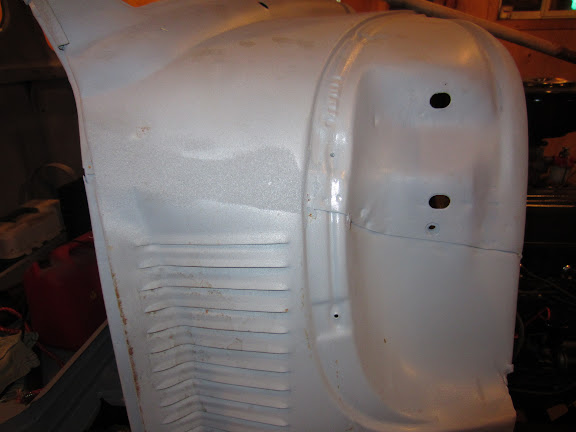
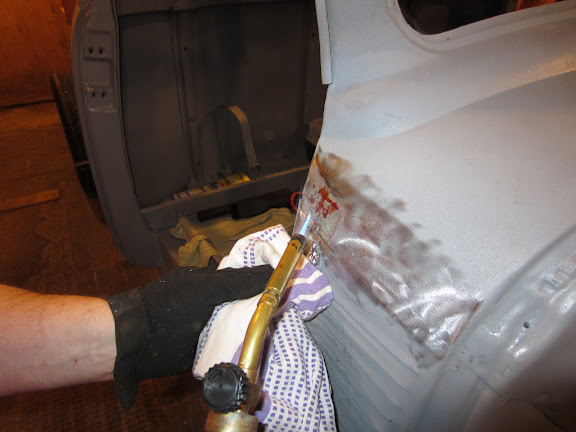
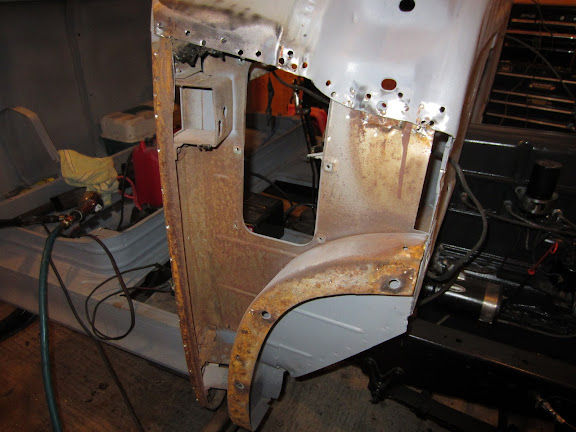
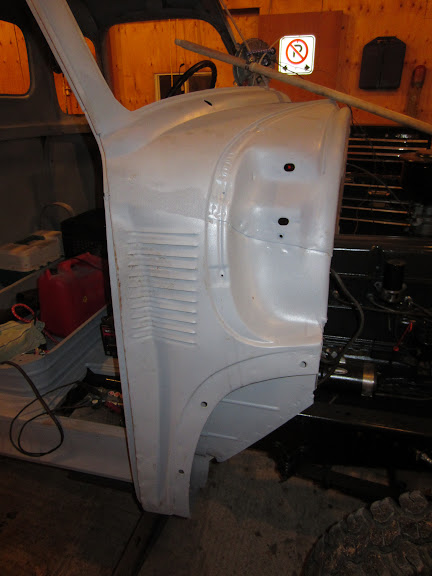 The damage – the passenger door had been opened too far and forced its way into the vented cowl, flattening all the vents. Not the kind of body work I feel like hammering out. Thank god for reproduction panels.
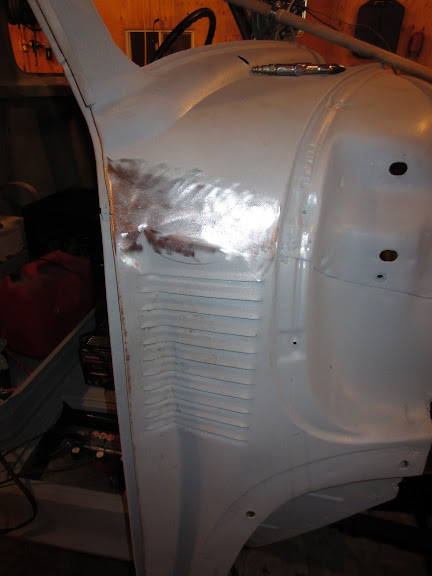
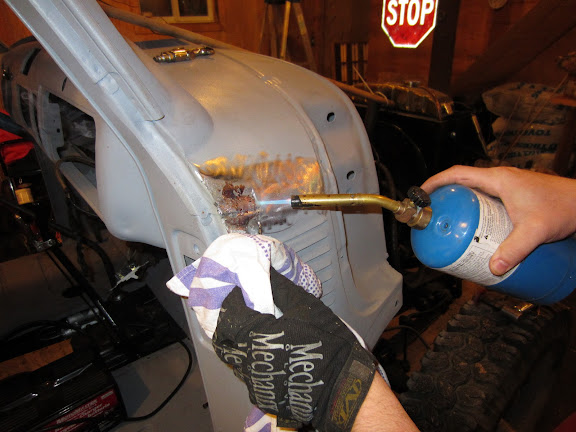
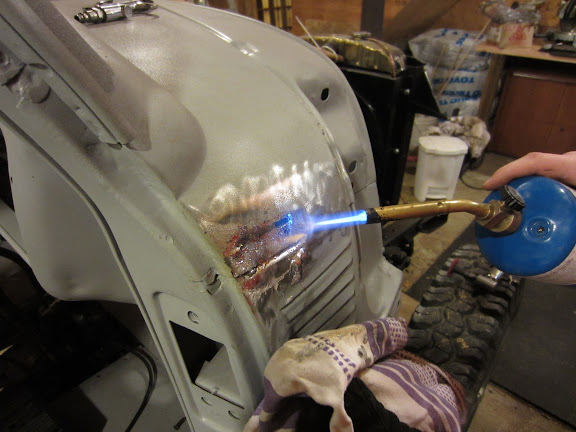
Next I grounded down the paint so I could use a propane touch to melt off the lead filler. This was surprisingly easy.
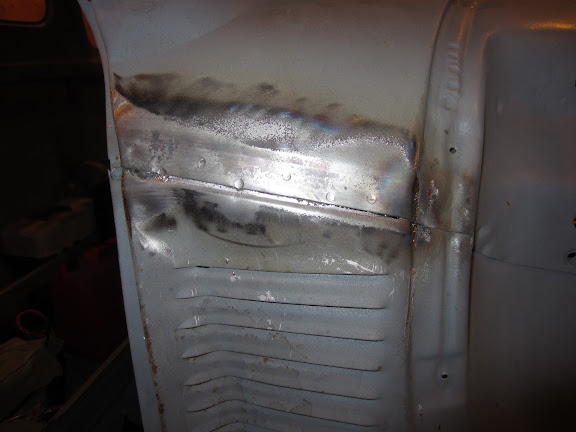
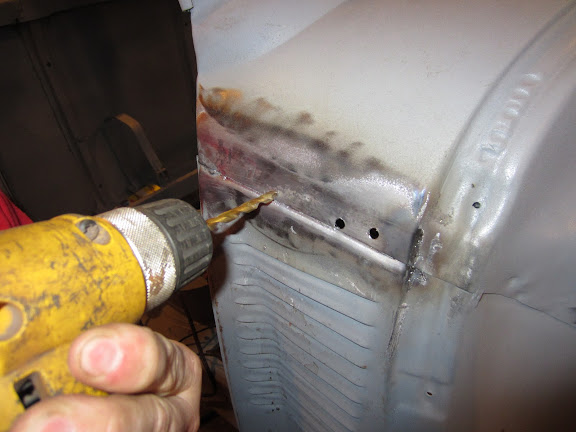
With all the spot welds exposed, I used a 1/4″ bit to carefully drill out each weld. In some places a nail instead of a punch to help guide the bit. Spot weld removal bits cost a few bucks, and this method seemed to work just fine.


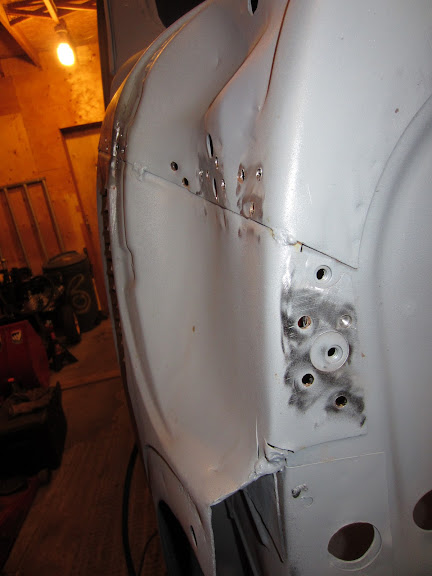
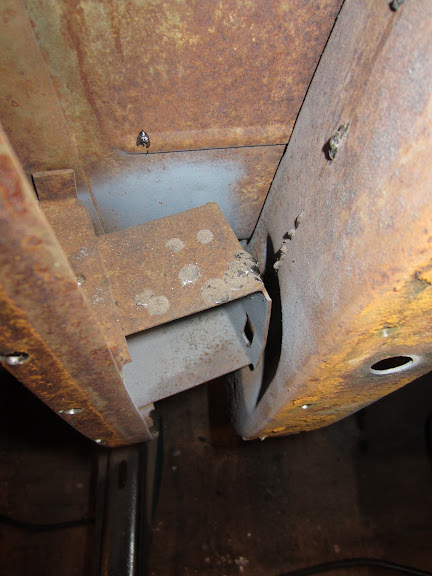
With all the welds (that I could see!) removed, I carefully used a flathead screwdriver and and hammer to separate the cowl from the cab. A few missed welds could be identified by prying at the cowl, causing the weld point to dimple. A second set of hands at this point was appreciated. Bobby would hammer the driver in while I drilled out missing welds. A couple of points had seams welded – the cut off wheel used with caution made quick work of these without cutting up the cab.
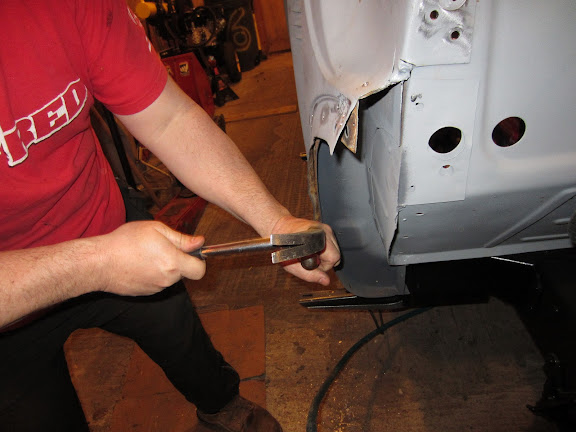

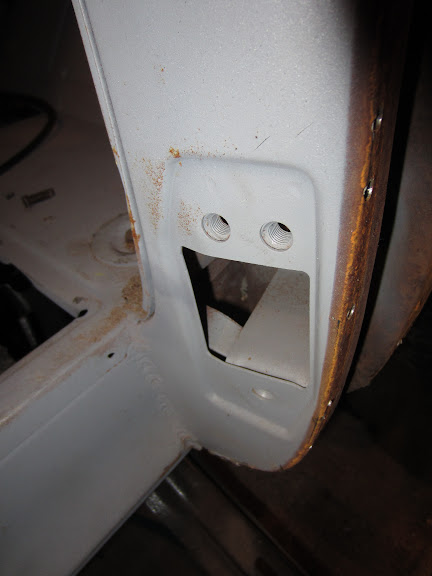
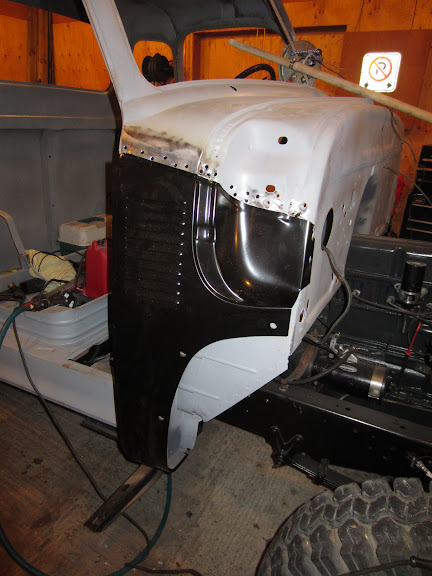
Panel now removed (high five!) I can now address the bent pillar / hinge mount. Couldn’t resist test fitting the new panel, fit like a glove!
These step by step illustration with pictures are the best I’ve seen. Thanks