My awesome wife enrolled me in a college course on auto body restoration. It covered fabrication of body panels, plug and tack welding the panels and patches in the first course. In the second course, pick and filing, dent repair, and fillers.
It was the perfect opportunity to take one of the fenders from the truck to learn on. I’ve done some body work before, but formal instruction would make sure I do the job right!
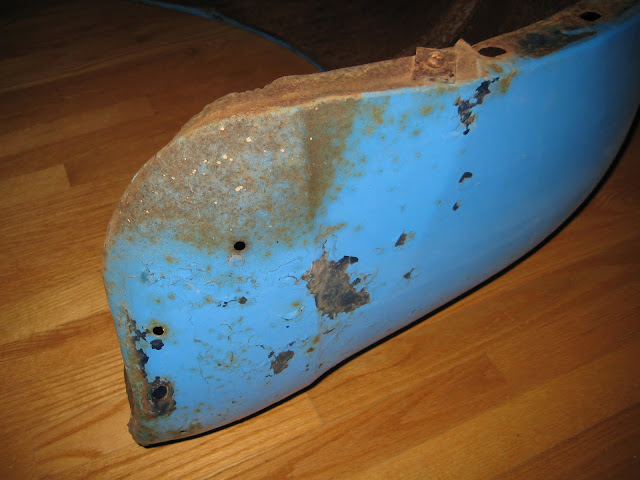
Ast the truck has a dumping bed, the fender also goes up with the bed. This means the leading edge of the fender had to disconnected from the running boards when it was installed. As such, there were three holes left on the leading edge. The leading edge is also flared, and to clear the running board as the bed is raised to dump, it was bent back, and out of shape.
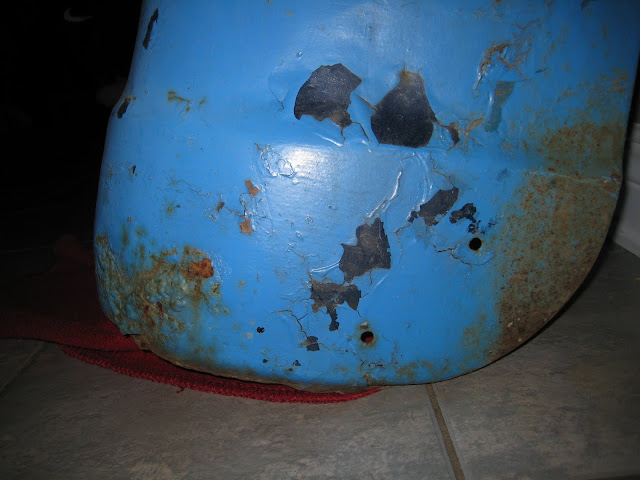
The fenders are pretty banged up. They’ve been repaired by previous owners, welded, rusted and dents all over. I choose the worse of the two rear fenders for the class, learn as much as I could.
It’s time to let the photos do the talking:
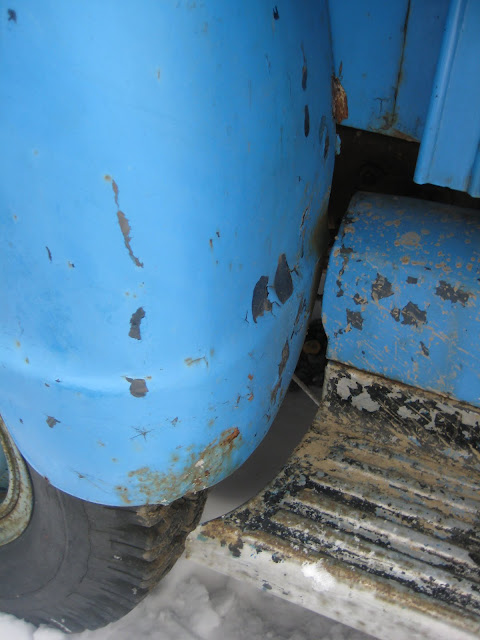
The fender on the truck – the dumping hardware lifts the whole bed about 1″. The running boards and skirt are moulded to fit around flare in the fender – you can see here why its been bent back. I’ll need to cut the running board back if I’m going to reattach the fender in a repaired, straightened out state.
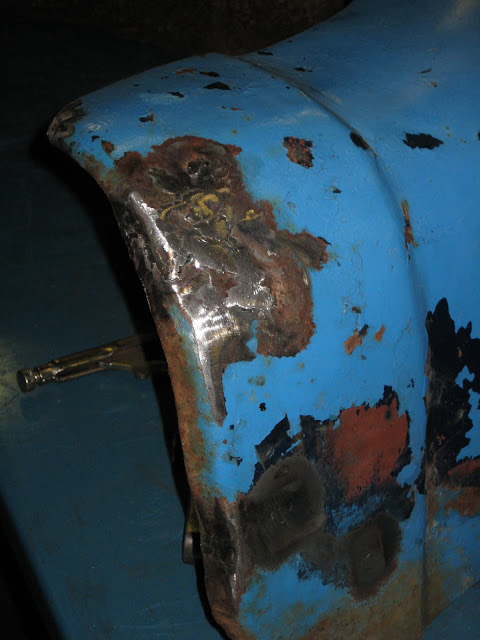
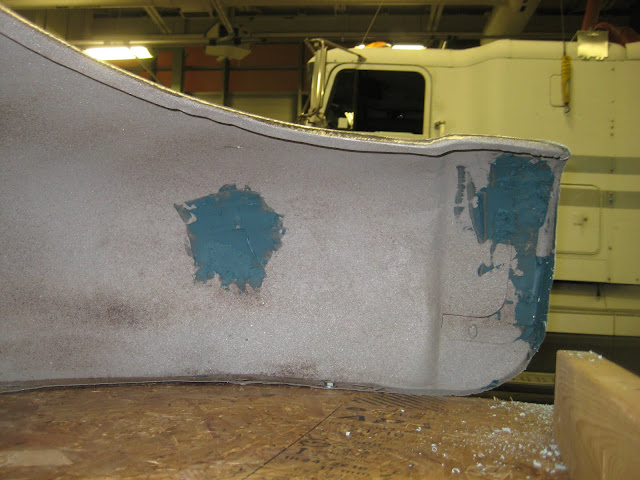
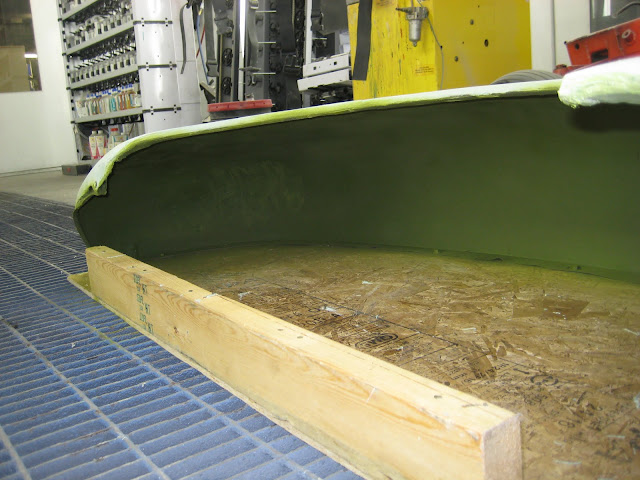
The following shows the state of the fender close up – note the bend in the last 3


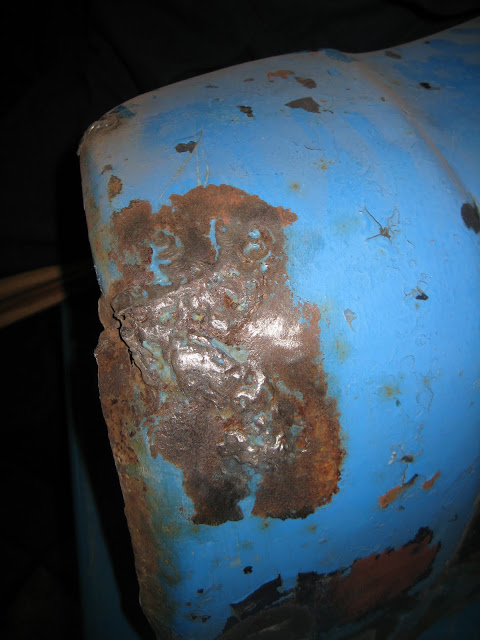
First task is to straighten the fender, and get its shape back before patching holes. Bending the fender back to shape brought out cracks that needed to be welded shut. Also pick and filing reveals lows and highs in the paint.

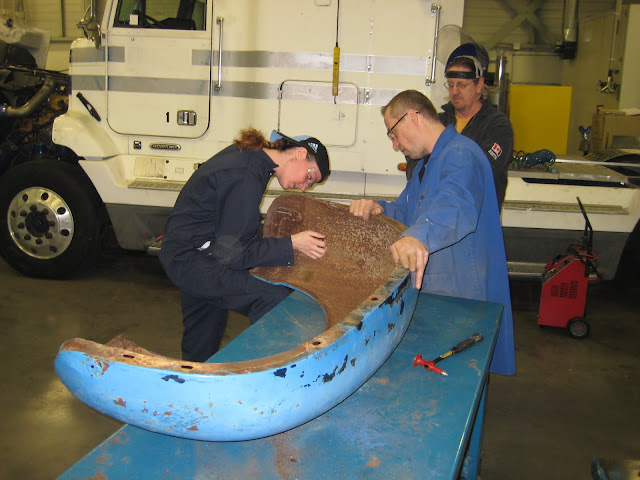
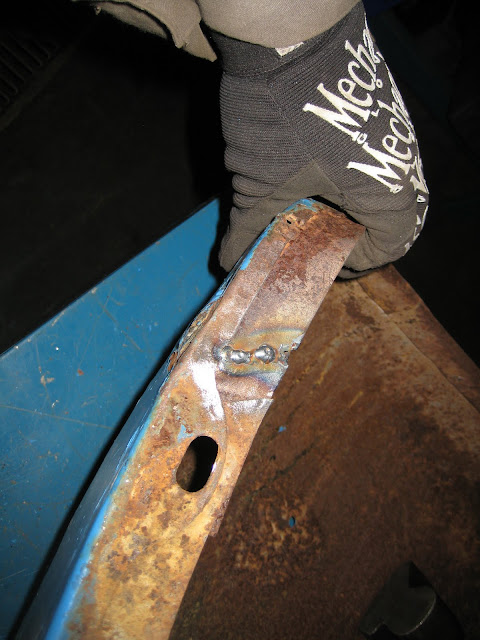

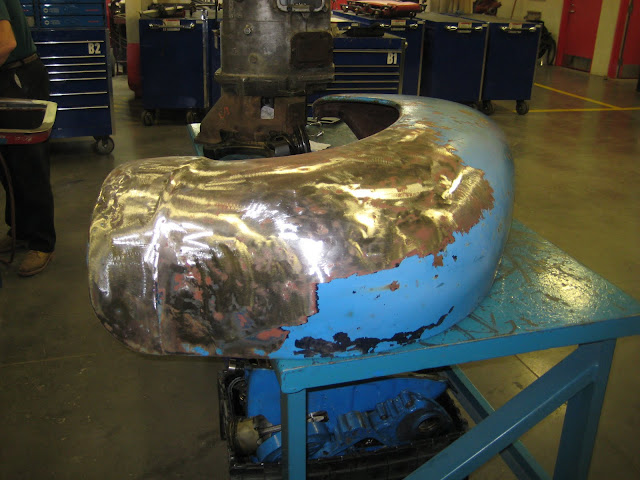
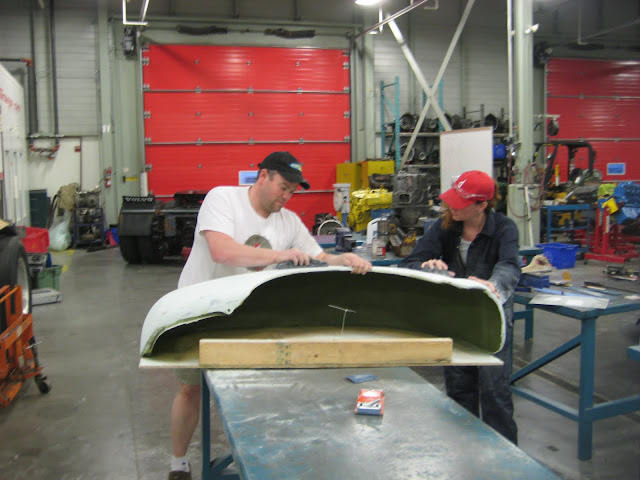
Once straight, all holes and bad previous welds were repaired.

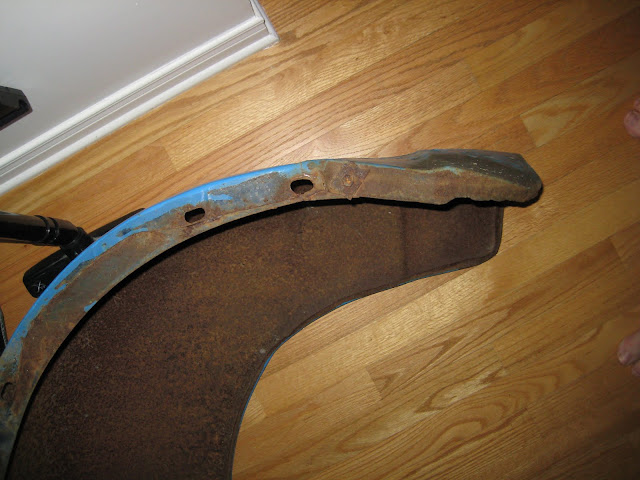
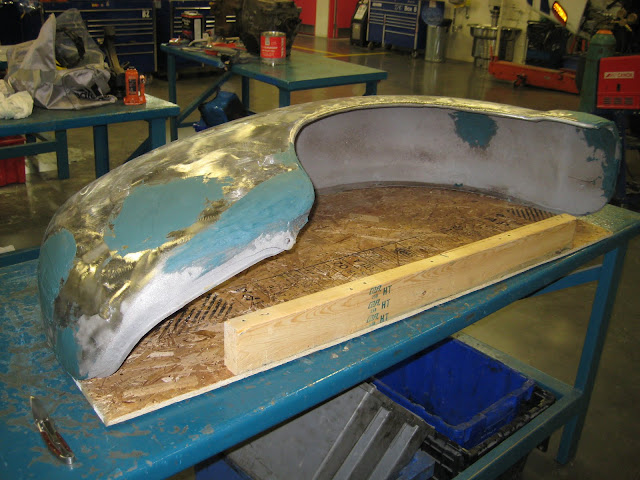
All paint and primer needs to come off the top, and the inside needed sandblasting to remove all rust. Here you can see how bent the fender was when compared to the other non repaired.
I plan to do the sand blasting of all parts at once in the summer, but since I needed this for the course, $50 was the cost to get this done.


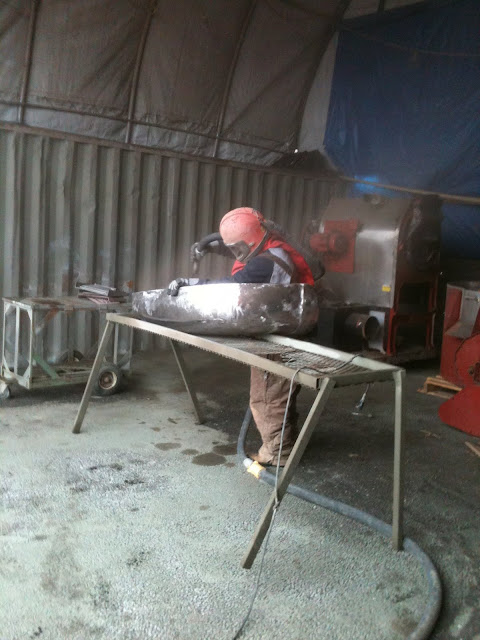

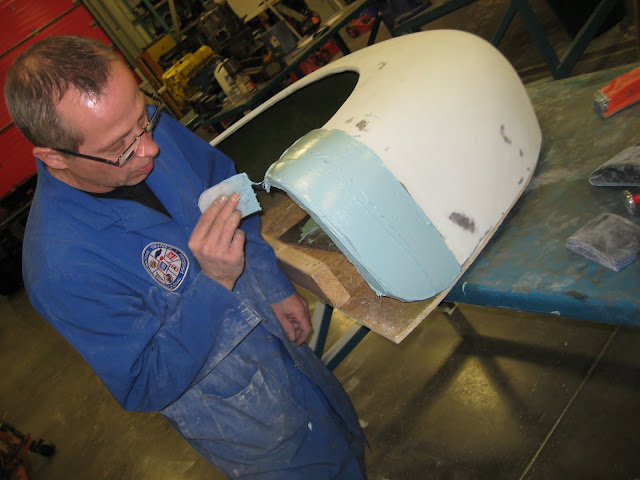
After all the metal work reinforcement is done, the welds get covered in short strand fiber to give it a nice smooth, strong finish. That gets sanded down to a semi smooth finish.


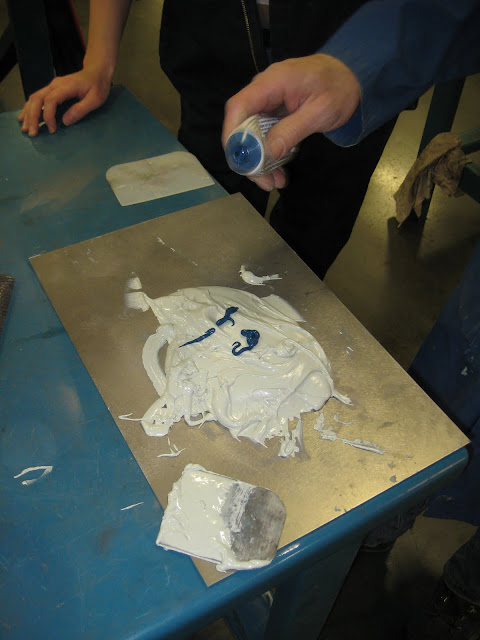
In the next class we mixed up a batch of light filler, and applied it sections at time, then grated it before it had a chance to completely harden.


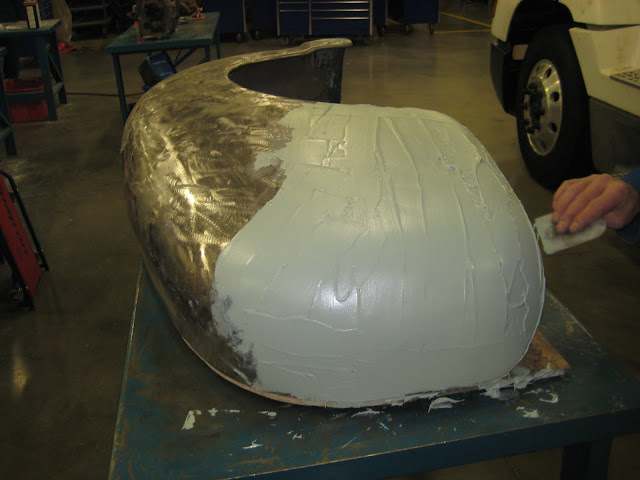

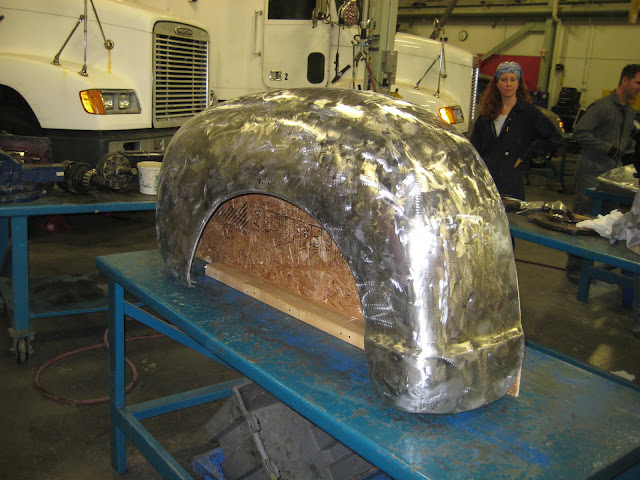
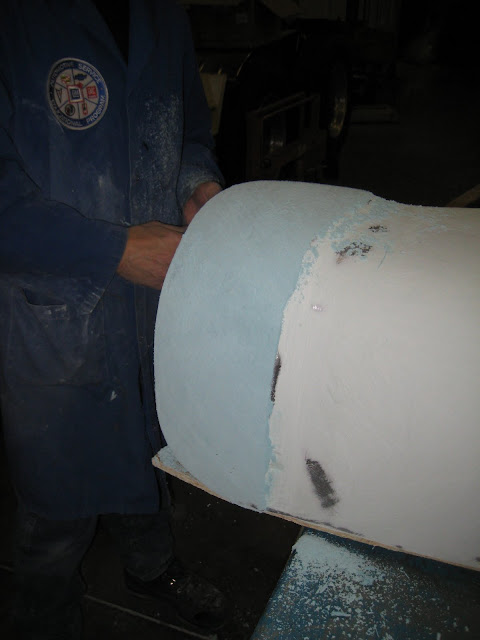
This process was continued working up the fender, and filling in the lows exposed by the filing until the whole fender was covered.


A shot of primer to keep the rust off the clean metal. I put a shot of the paint booth just because I’ll likely never see another! The school had 4!


On the last day of the course, we block sanded the fender. This revealed a few highs, which we picked down, and a few more lows which we applied more light filler to. Unfortunately, thats as far as we got on the fender. When I finish it off, I’ll post more shots. (of course!)


My truck in the Algonquin garage!
