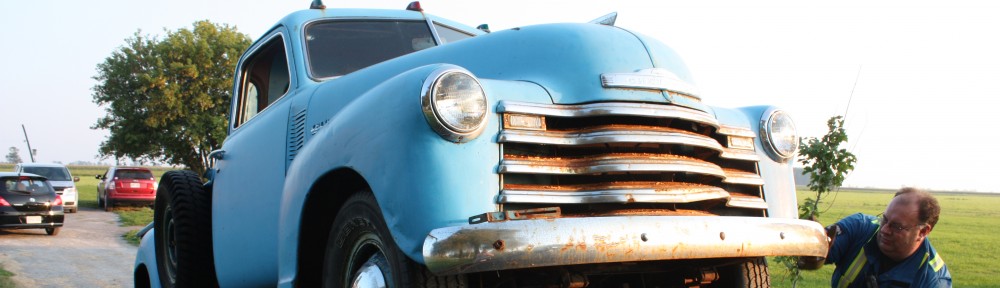
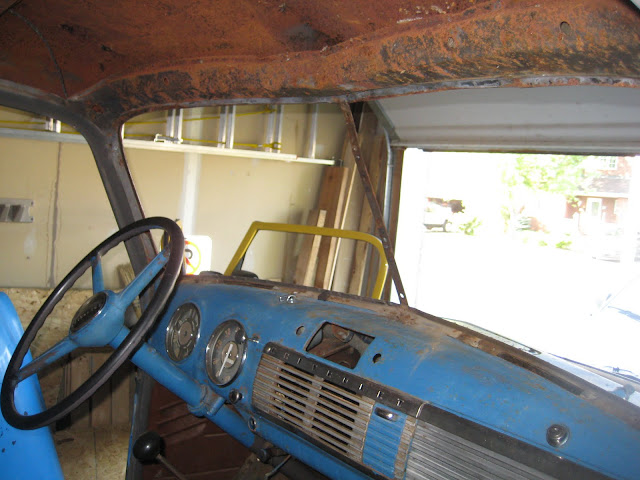
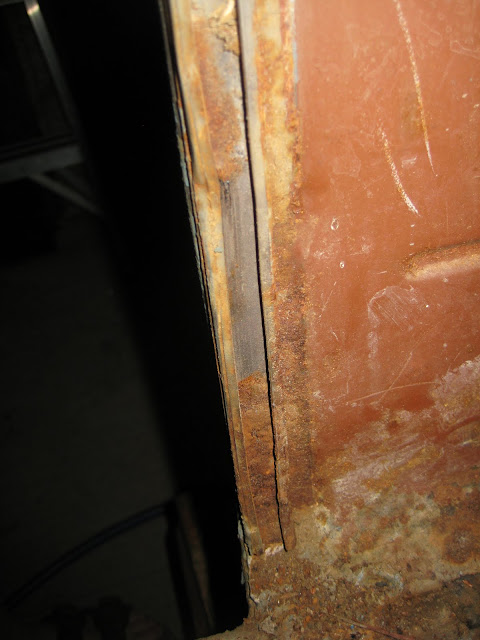
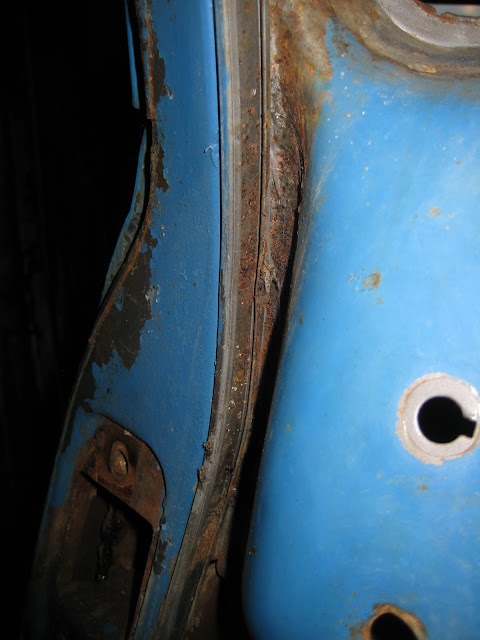
The cab in my ’49 was not in terrible shape. The typical rust spots, cab corners were rotted out, a small amount above the windshield, and rear window (thanks mice!). Nothing terrible.
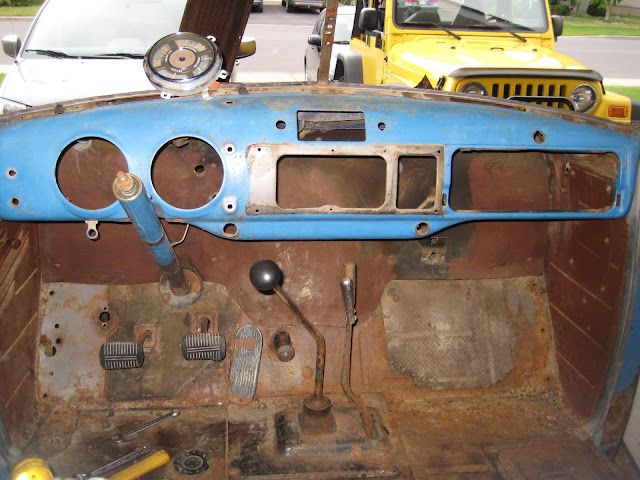
My plan is to do a complete strip down, repair, and paint of the cab. Having worked on the speedo when I first got the truck, the order of which I pulled it apart was more obvious to me. Get the stuff out first which gets in my way! That being the doors, the seat and for when working under the dash, the pedals.


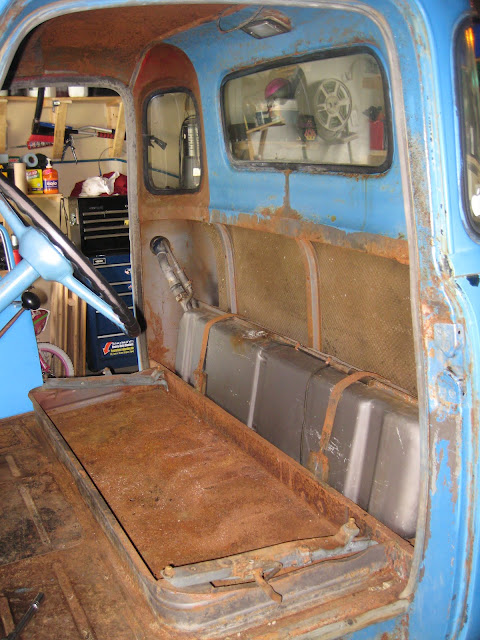
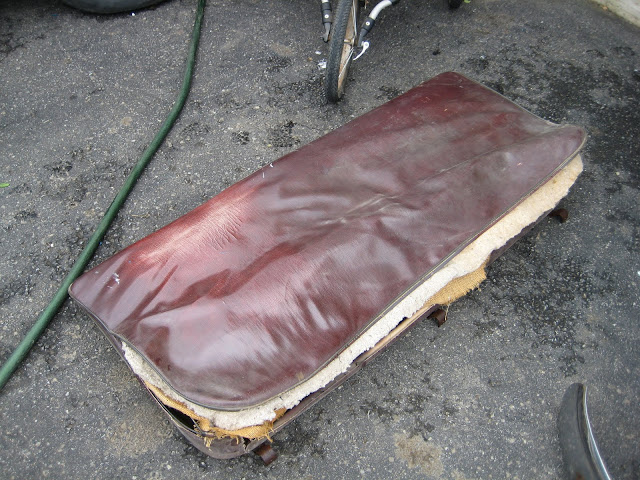
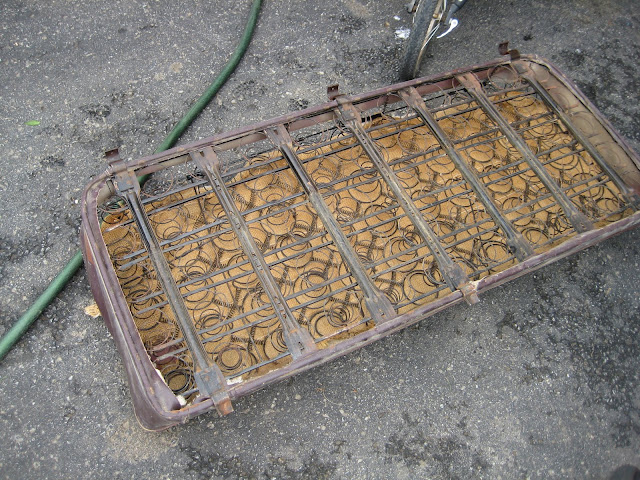
Once the the mouse crap encrusted seat was out, I pulled it apart carefully saving all clips and photographing their location. At this point I made an interesting discovery, it would seem that the bottom of my seat was complete molded foam. And after doing some research, I found out that this only seemed to be the case with Delux Canadian cabs. My US buddies had never seen it.


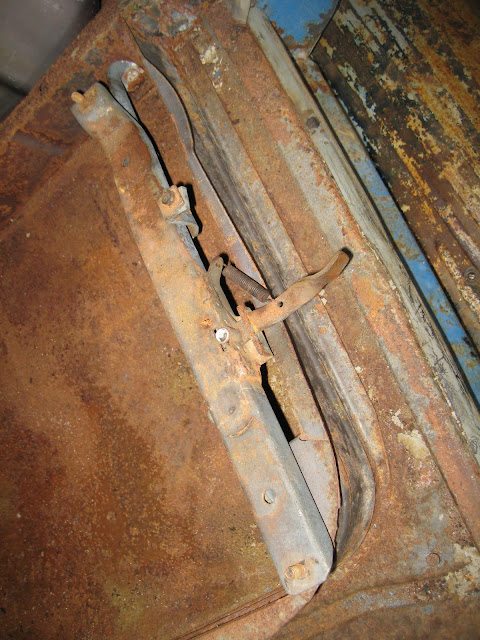
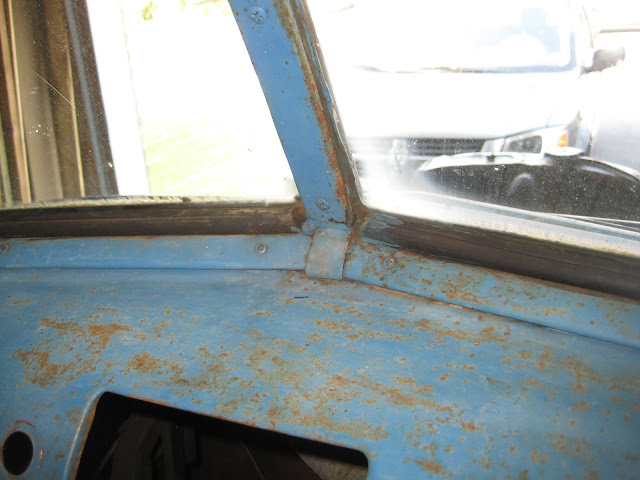
Next I pulled all the window trim, seals and pulled the glass. I was unable to get the windshield out without breaking it, but that was OK, it had significant chips in it.


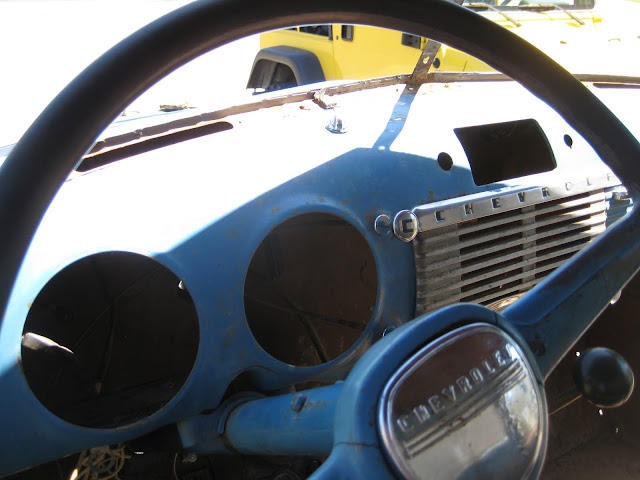
The best way to get the “stuff” out of the dash is to work right right to left. Starting with the glove box – that lets you reach in to undo the annoying small screws that hold the radio trim in.
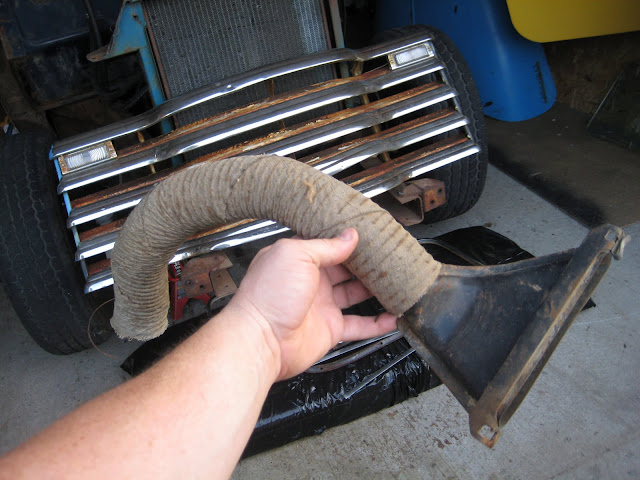
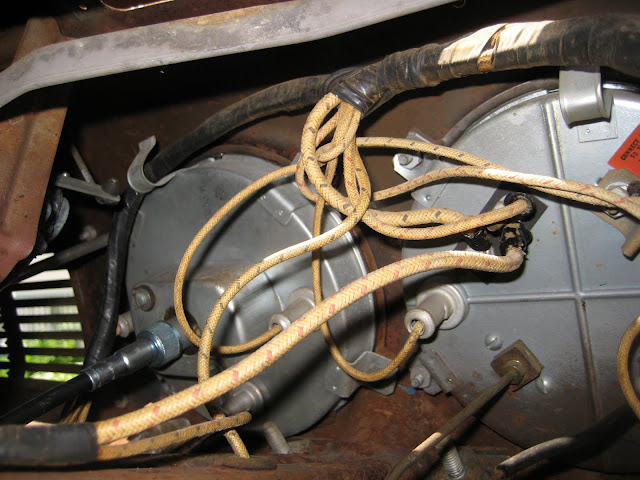
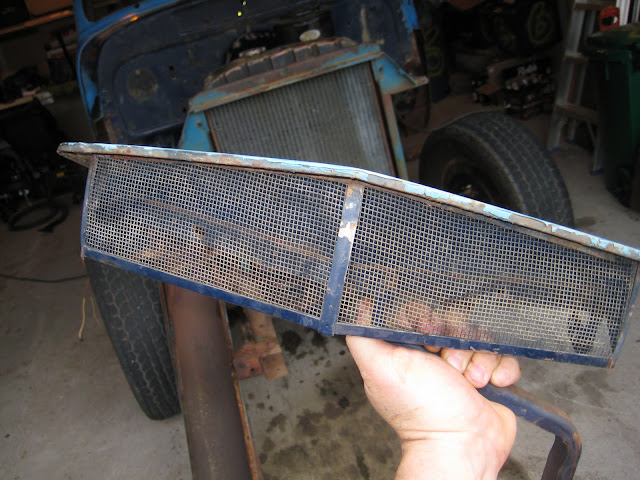
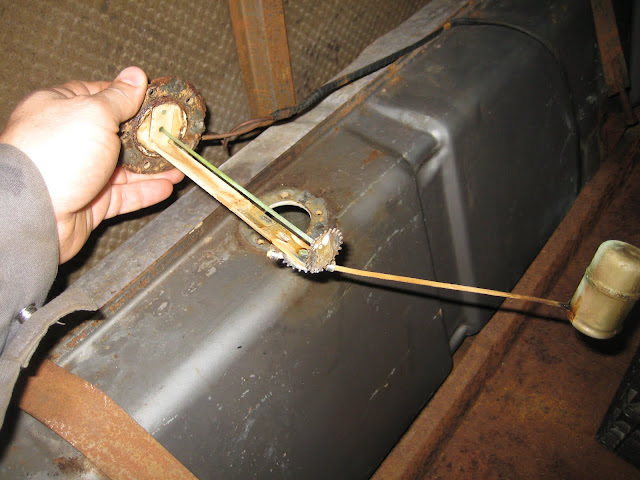
My vent hose is in tact but full of mouse nastiness – I will be replacing it. The heater seems to be in great shape as well. I will likely make its restoration a winter project.


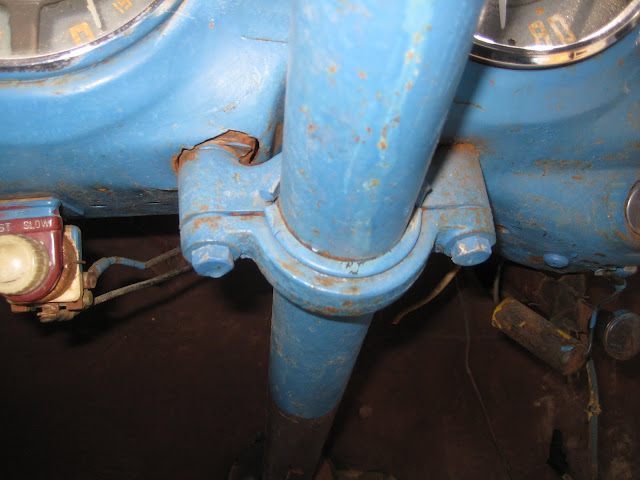
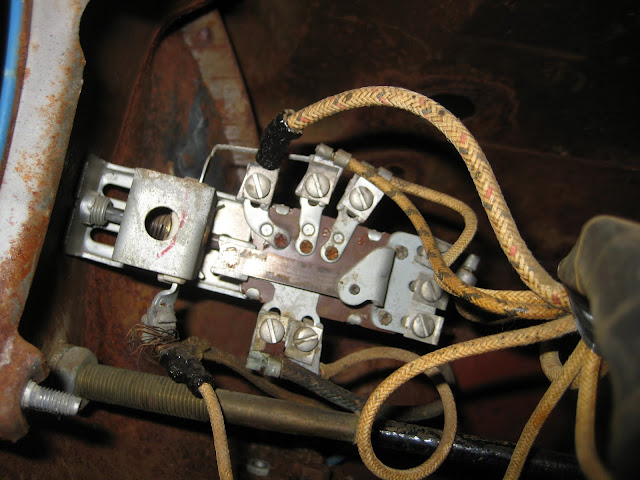
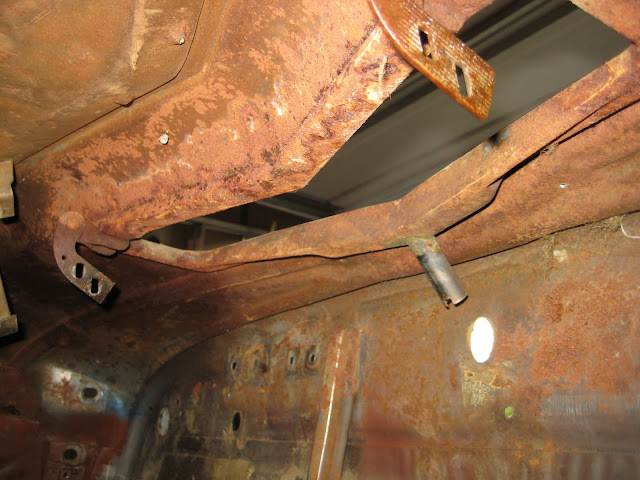
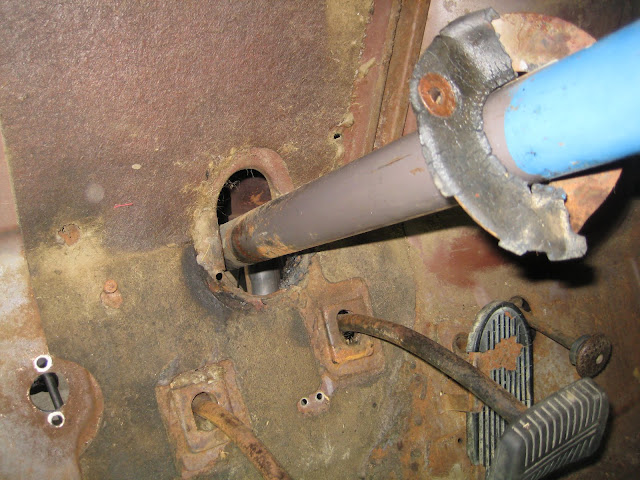
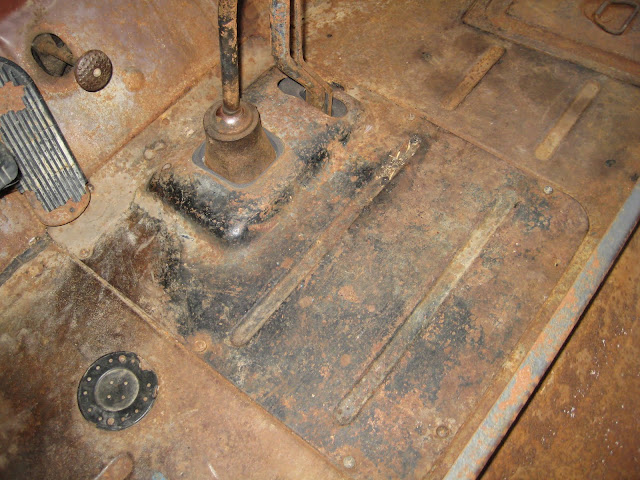
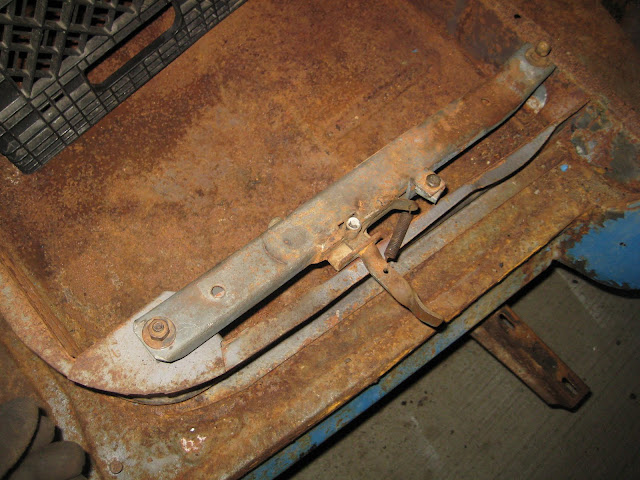
Wipers, gauges, heater switch, wiper motor and finally wiring harness. You can see the metal work needed where the steering post mount goes. Shouldn’t be too bad, another test of my novice welding skills!


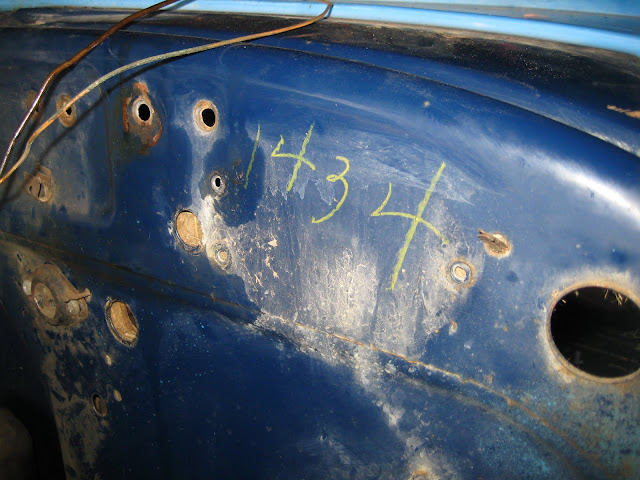
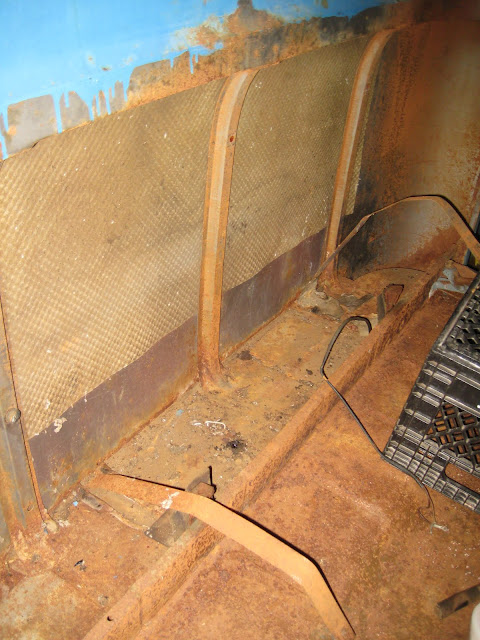
The original assembly line grease pencil marking of 1434 can been seen. Some purists like to leave the firewall alone to preserve the marking – I’ve got a photo now, and I don’t think it’ll survive the sand blasting! Perhaps I’ll mark it back on after I repaint.
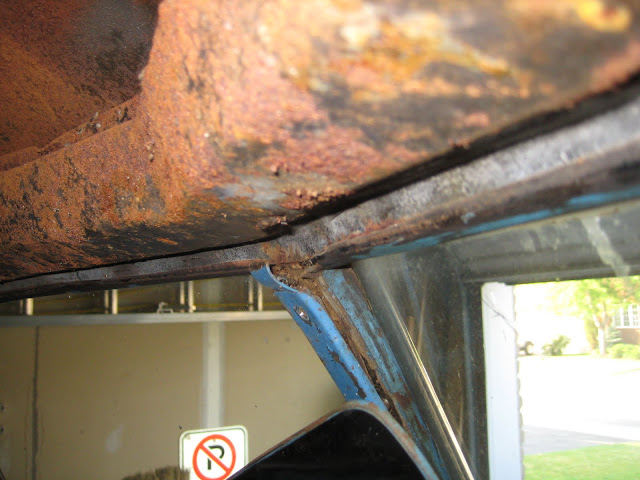
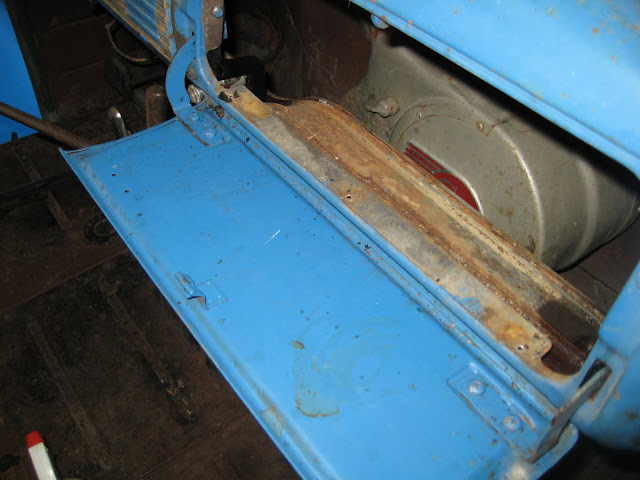
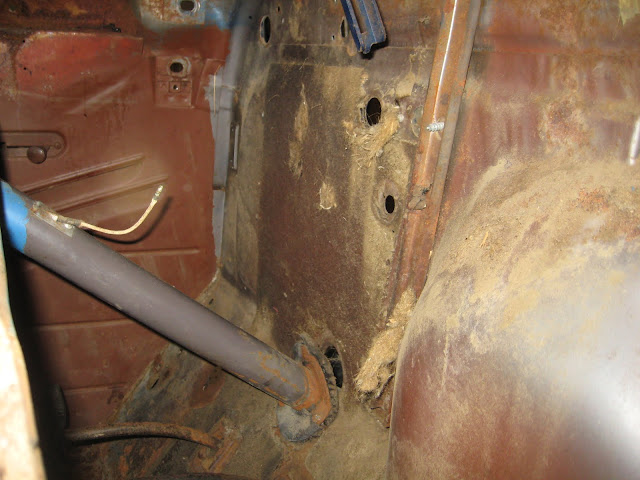
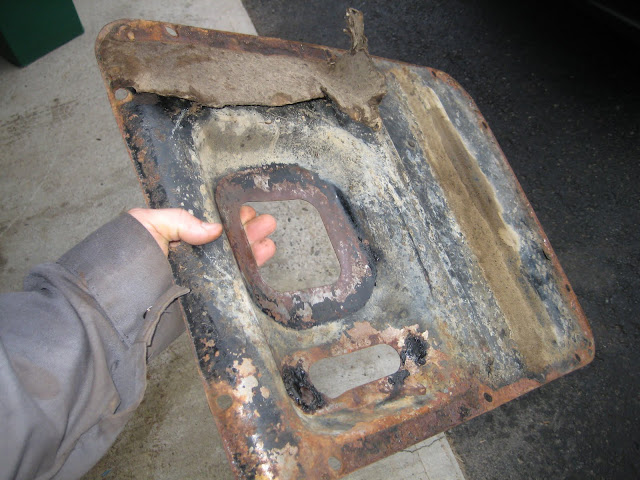
I removed the firewall insulation and noted the retaining clip locations. It seems to be made of cardboard and horsehair. A newer version made of black plastic and insulation will be replacing that. Removed both vents as well.


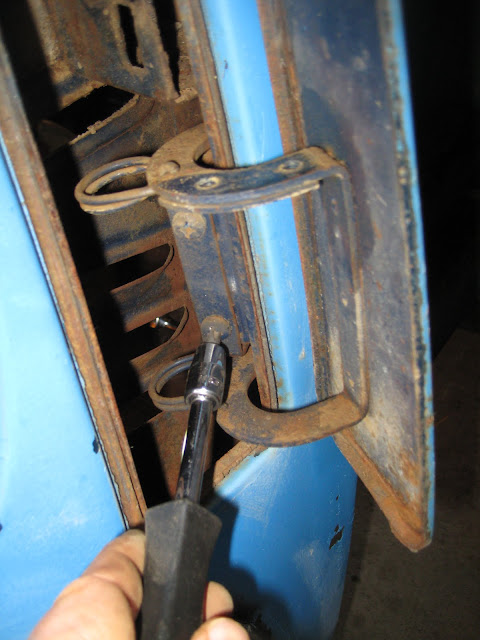
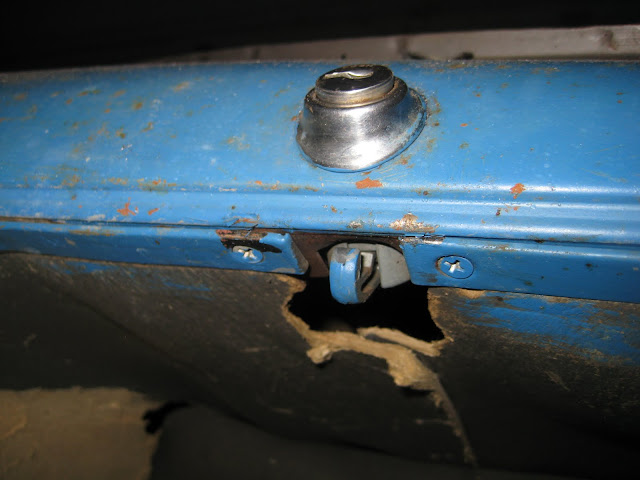
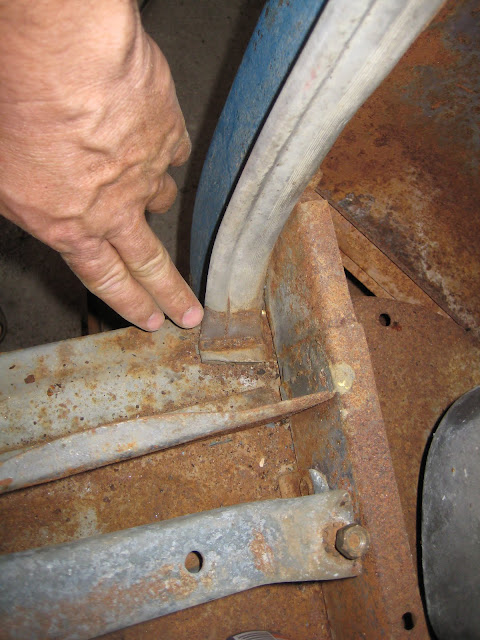
Next I removed all rubber seals.
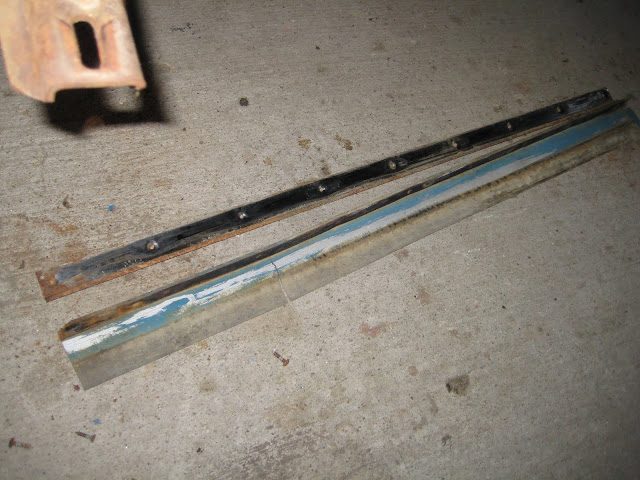
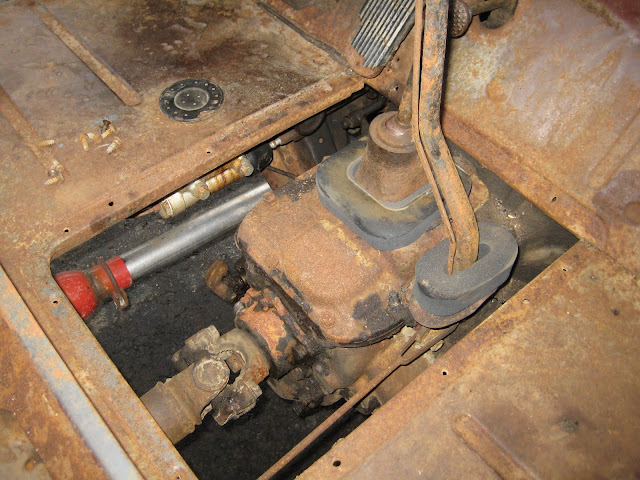
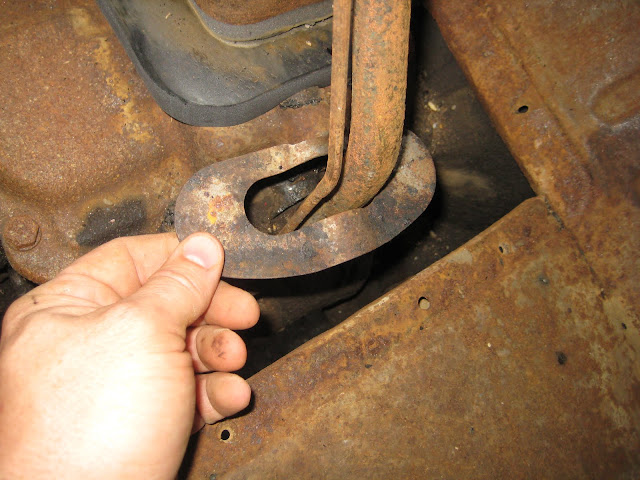
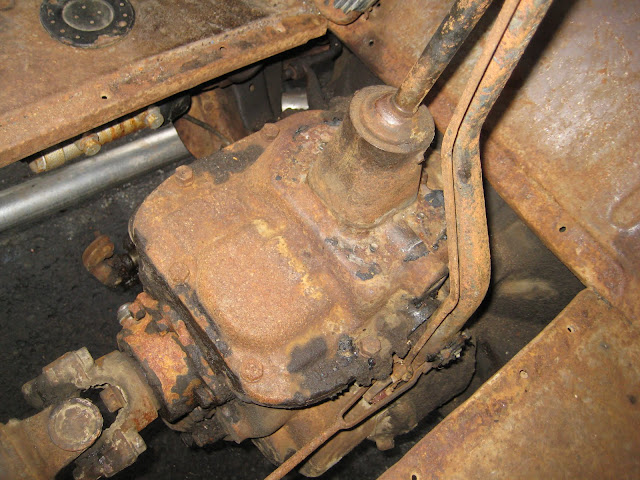
Transmission & hand brake cover. The rubber seals are new here – the original one had melted and fallen apart.
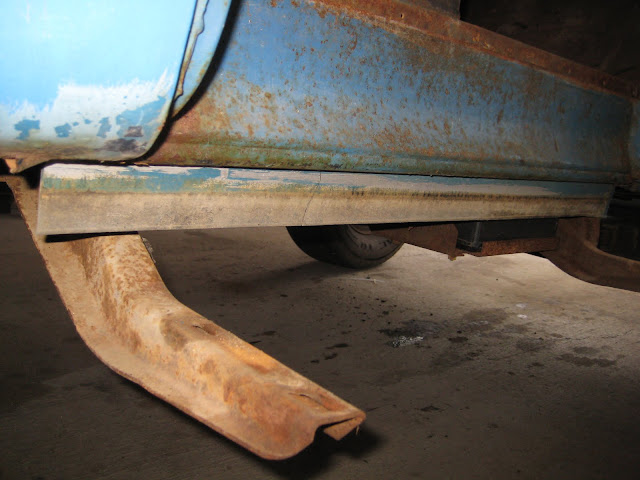
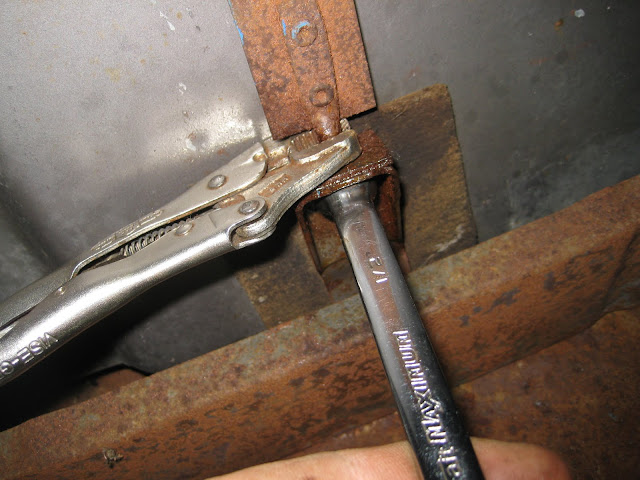
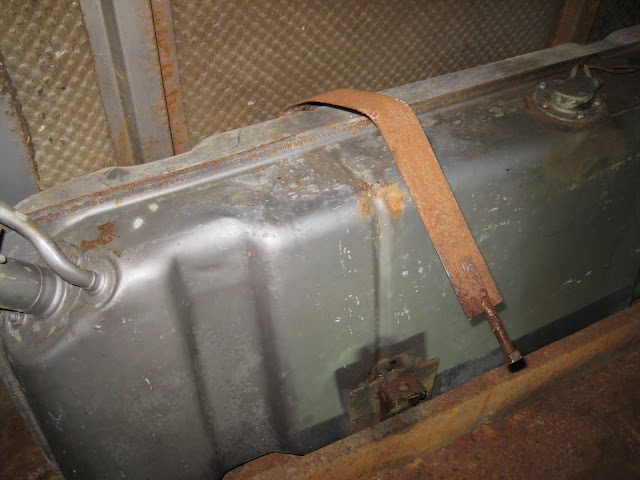
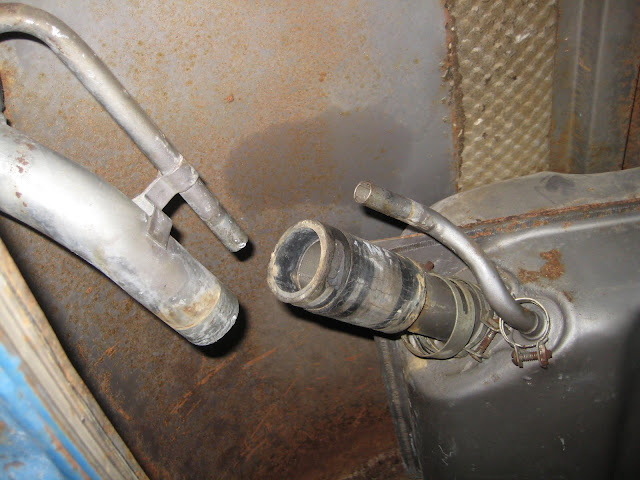
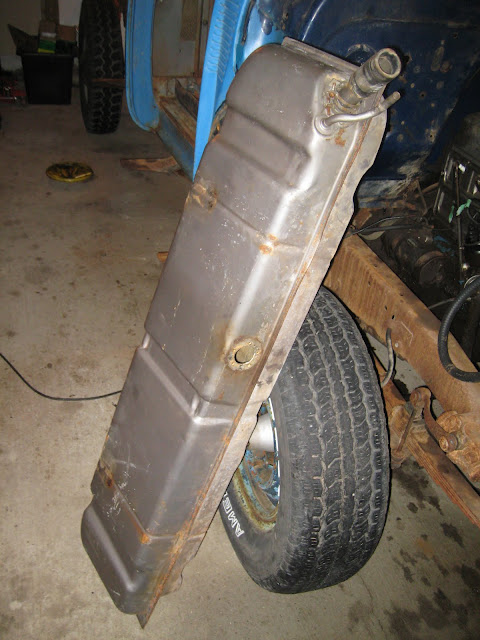
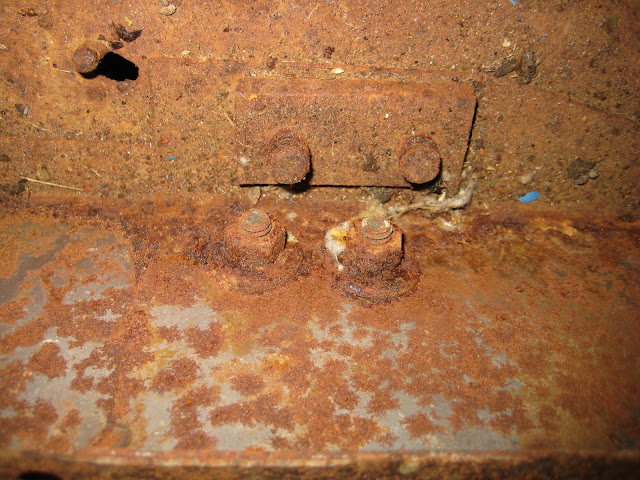
The fuel tank came out next. The tank straps in my cab happened to be welded to the cab floor, so I’ll keep them in.


Removed the rails for the seats and bolts holding the mounting shackles on and the cab was finally free of the frame! This was a pretty awesome feeling, and while there was a lot of parts to pull off, it wasn’t that overwhelming. I’ve seen a lot of guys do restorations without taking the cab off, but have taken pretty much everything else out of the cab to restore. My advice, take the few extra steps and take it off, working on the engine and drivetrain becomes SO much easier!
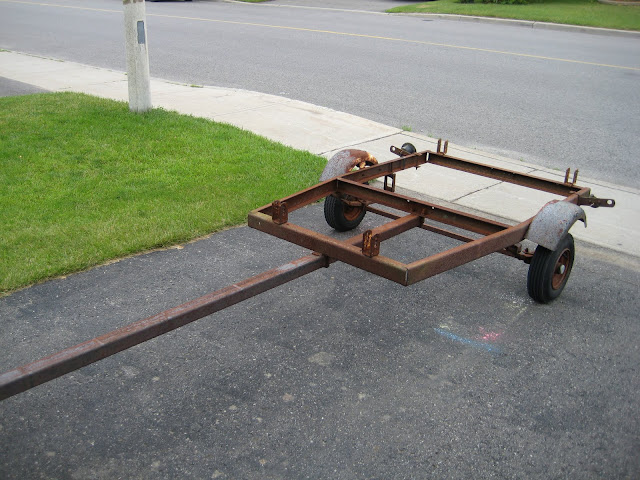
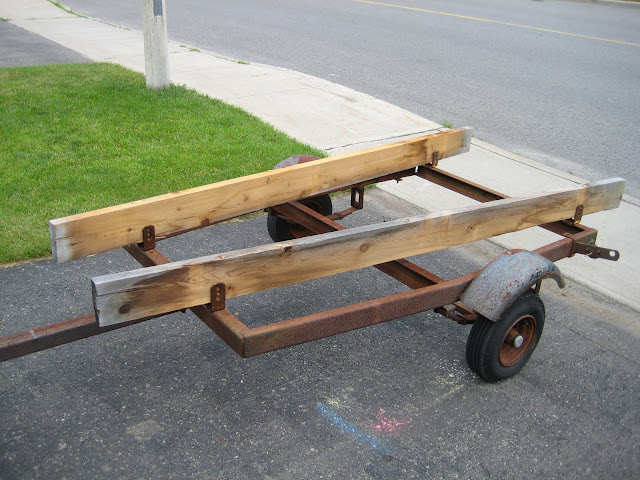
My father-in-law donated the old boat trailer to my cause. Without any modifications at all other than a couple of 2×10’s in the stock brakets, I had my cab trailer!

LOVE YOUR TRUCK! Looking forward to completion pictures.
I’m looking forward to those as well… long LONG road!!!
Mark,
You are an inspiration to me! I also have a Windsor Blue ’49 Chevy 3800 with a dump bed which I acquired last summer. Unfortunately, I have major problems rust-wise in the lower cab cowls to the extent that I don’t think I’ll be doing quite the serious restoration you have launched.
I really appreciate your photos–they are all excellent in quality and have helped me with my recently purchased radio. Other photos will be very useful as well.
Best regards,
Tim S.
Thanks Tim!
I’ll be replacing parts of my cowl and cab corners as well. Still researching others work and practising my welding skills on any scrap metal I can find!
Thanks again for the comments and good luck!
Mark
Mark, I have been working on a 49 chevy truck, haveing prob lem on installing glove box hinges . I did take out so I don’t know how to install. Come to find out you can turn them all kind of diffent ways! The picture on the glove box area will help, I thnk I got mine in backwards.
Donald – if you’re still having issues, I think I have more photos of that area that I can send to you. I only post a fraction of the photos I take!
Mark, I bought a 49 1 Ton in a thousand pieces. As you can appreciate, not taking it apart, some of the items I have in boxes are still a mystery. I appreciate your pictures. Couple of items would be helpful: 1) did you get pictures of what the Cab aligns to, how it attaches to the frame, spacers, etc. 2) door assembly, I have some spacers that look like an “M” or “3”, not sure where they fit in the door or lock assembly.
Hi Mike,
All my cab photos are here:
https://picasaweb.google.com/113636046886857960240/Cab#
I had a look and don’t see photos of the two front bolts that hold the front of the cab to the frame. But there are spacers for sure, I’ll have a look at home to see if I missed any photos.
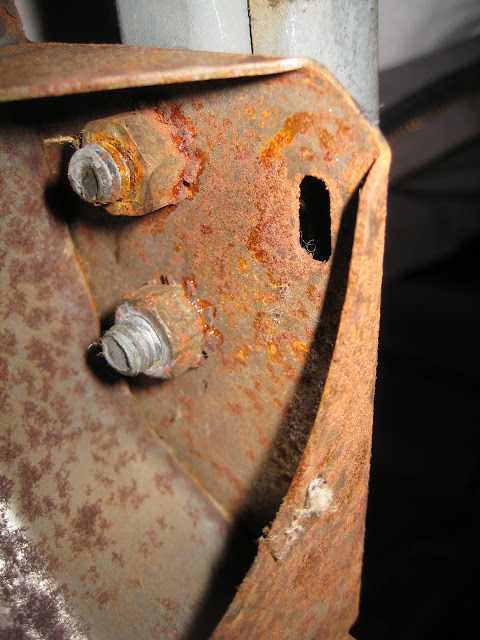
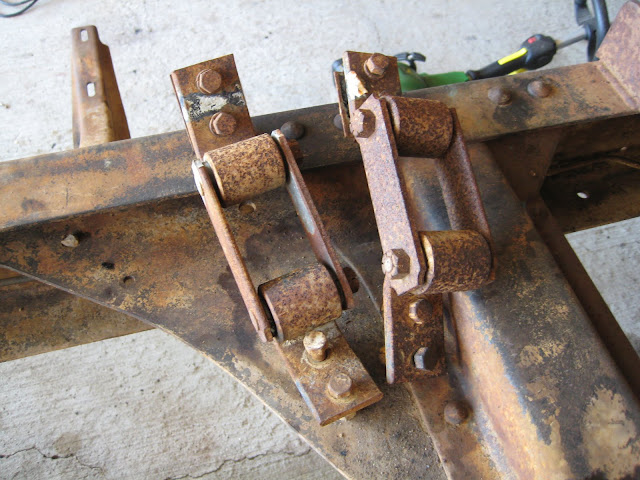
The back shackles are well photographed. Between the front two bolts, and rear shackles, there isn’t much room for movement – aligns nicely.
This might help if you haven’t seen it yet.
http://chevy.oldcarmanualproject.com/shop/1948_51truck/51ctsm0102.htm
The Chevy Assembly manual might have it as well, will check tonight.
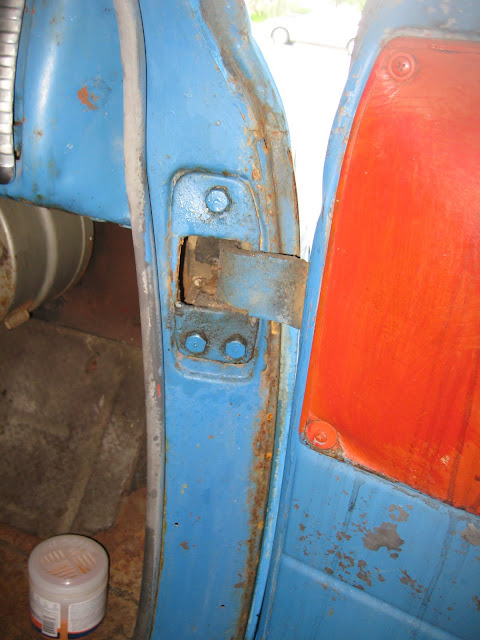
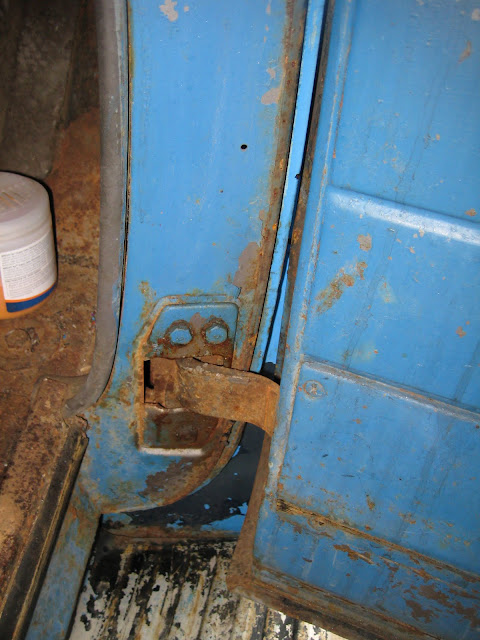
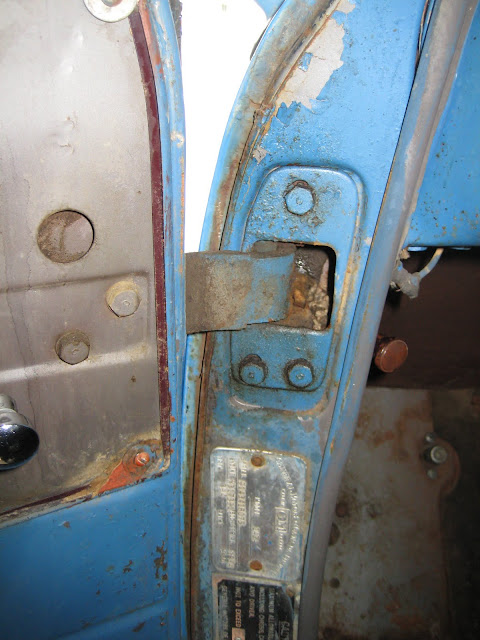
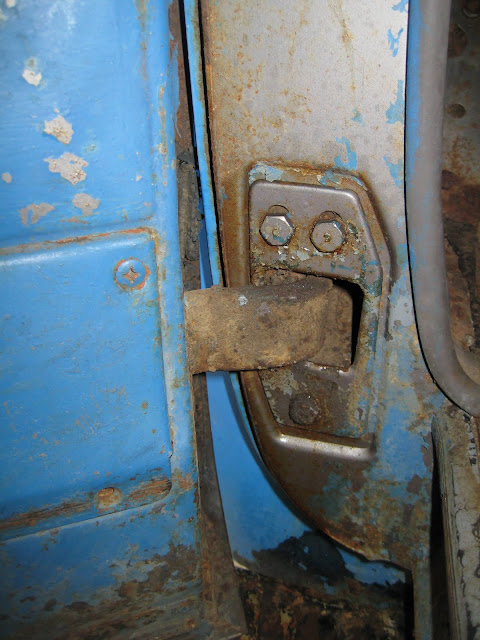
My door photos:
https://picasaweb.google.com/113636046886857960240/Doors#
http://chevy.oldcarmanualproject.com/shop/1948_51truck/51ctsm0105.htm
Can’t see what your describing – have a photo you can send?
Mark, appreciate the pictures. Very helpful to see where pieces fit. Might you also have a picture of the clutch, brake, gas, etc. linkages. I have the drive line in, will start working on the brakes this week if the weather permits.
regards
Mike Sorensen
Yes – very detailed shots. Will have to search my PC tonight, will post.