Still trying to figure out what exactly I have under the hood… the numbers don’t match what’s on the info plate (drivers door pillar)
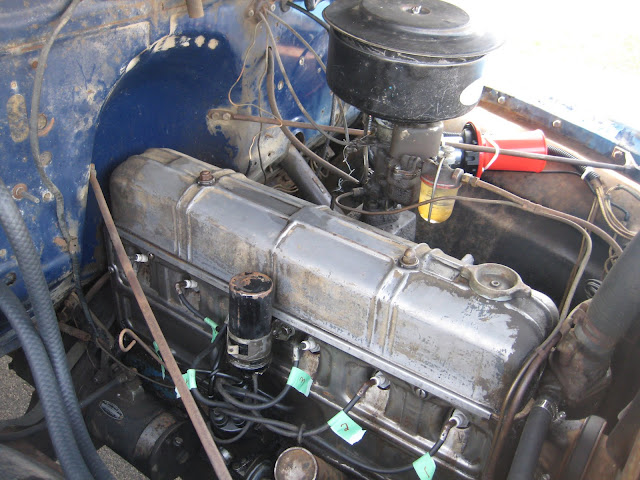

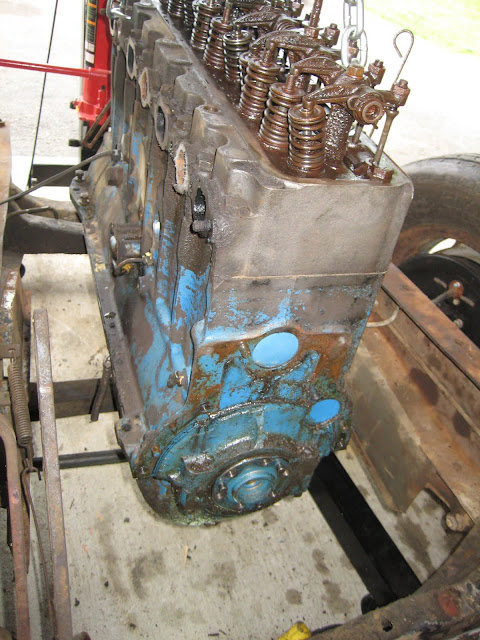
 Recently however I have found the casting number on the head just under the valve cover (thanks Fred!). It revealed that the head was used both on 1949 built 216’s and 235’s. (3835409)
http://www.1954advance-design.com/Stovebolt-engine/casting-numbers.html
 In this case you would use the stamped number on the block to determine if the engine is 216 or 235. Unfortunately – I can’t find a listing for this number anywhere. (C370252)
One of my Stovebolt brothers filled me in on the following …
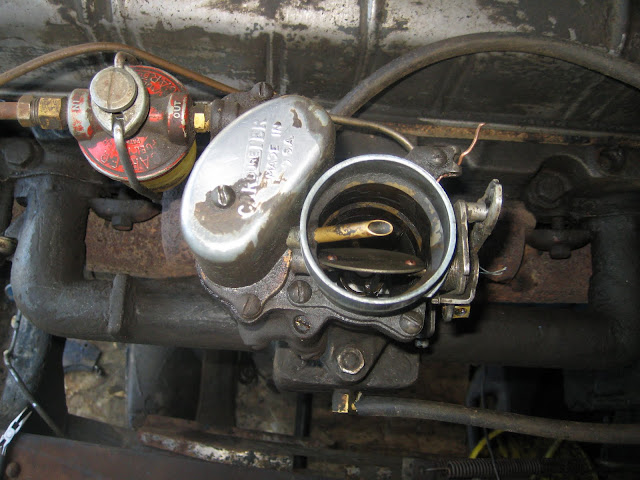
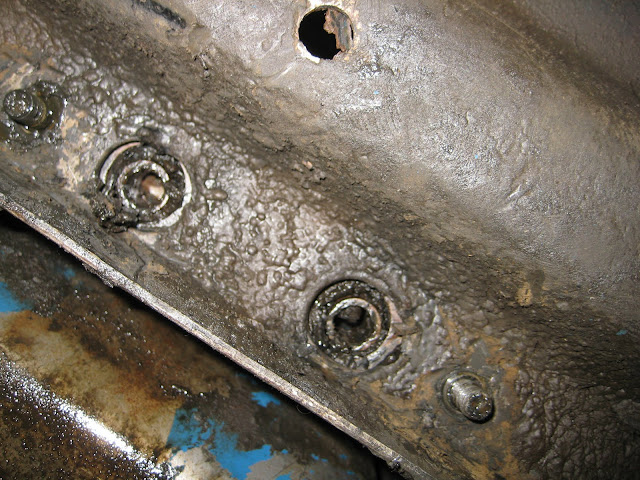
there are two studs holding down the base of the carburetor. You should be able to see them. For a 216 manifold and carb, they will be 2 11/16″ center to center. For a 235 setup they will be 2 15/16″. You should be able to measure that.
Once I measure that, I’ll know for sure what I have under the hood! Regardless it’s coming out. If it’s a 235, I’ll have it rebuilt, if its a 216 – I’ll just toss it in favor of a 235 or 261.
UPDATE: July 2011
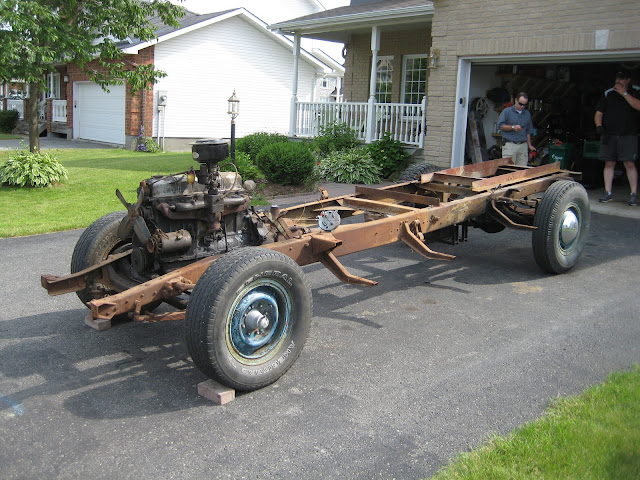
 I’ve completed a lot of the tear down on the truck, completely pulling the cab and all sheet metal. This allowed the best possible access to dropping the transmission and pulling the 216 (which I’m sure about now!).
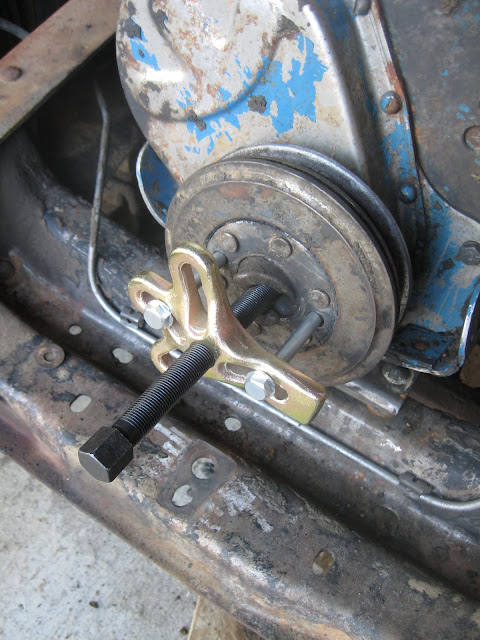
Before I pull the engine, I wanted to get as much of it’s parts off as I could, not to make it lighter, but because it’s easier to apply some torque to an engine that’s bolted to the frame.
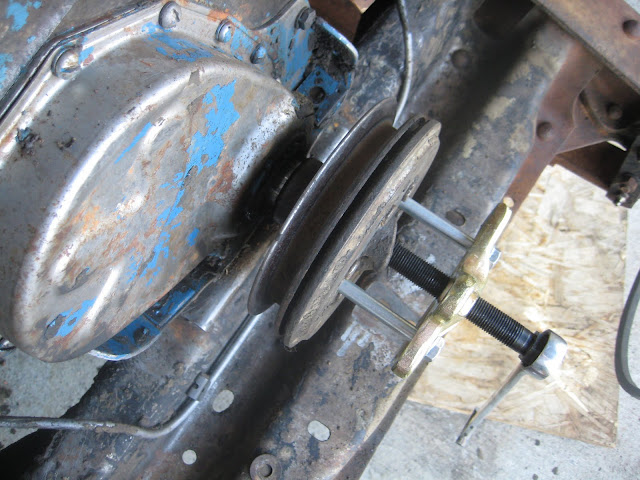
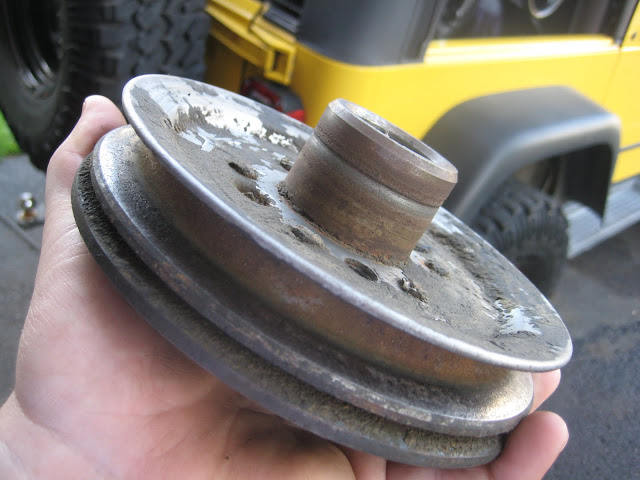
I had to pick up a harmonic balancer puller to remove said part. It was only $20 and pulls more than just harmonic balancers. It came off quite easy, and will be reused on my 235 engine. (because I’m also reusing the 216 generator and water pump) You can see the shaft on the balancer has a significant wear groove and will need to be sleeved.

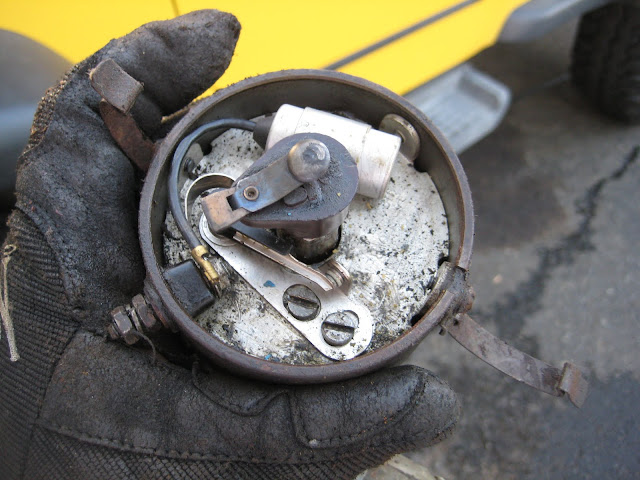
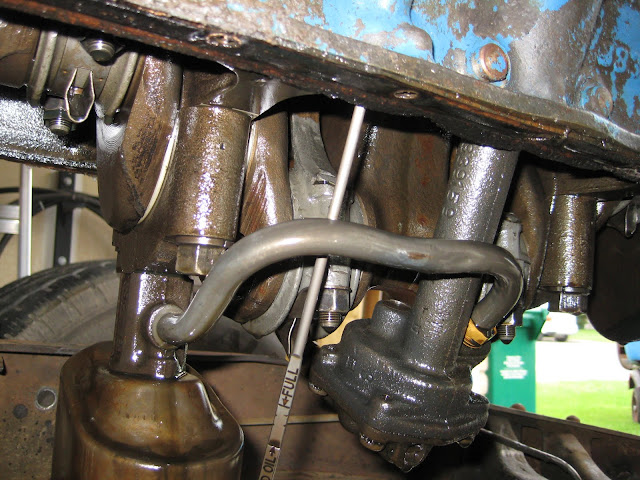
Using compressed air, I opened up the fuel pump and fuel filter bowls, let the gas drain and blew out the lines before removing them. I attempted to catch as much fuel in small containers as I could. It was messy, but hey, it evaporates!

 Using compressed air, I opened up the fuel pump and fuel filter bowls, let the gas drain and blew out the lines before removing them. I attempted to catch as much fuel in small containers as I could. It was messy, but hey, it evaporates!
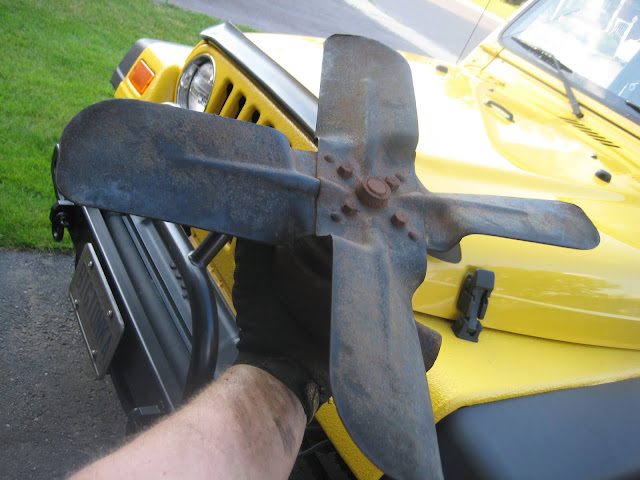
I then proceeded to remove the carb, water pump, thermometer housing, starter and generator.


Finally before pulling, the transmission and bellhousing had to be removed. This is covered over on the drive train section.
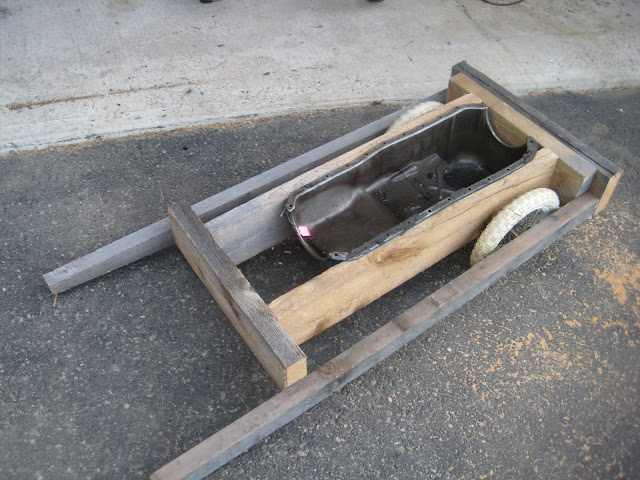
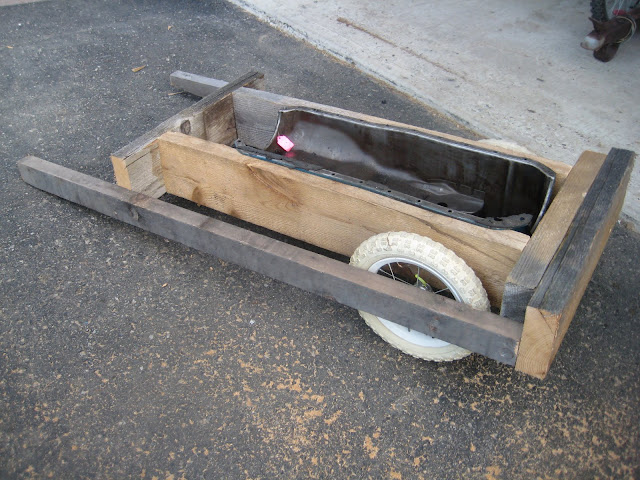
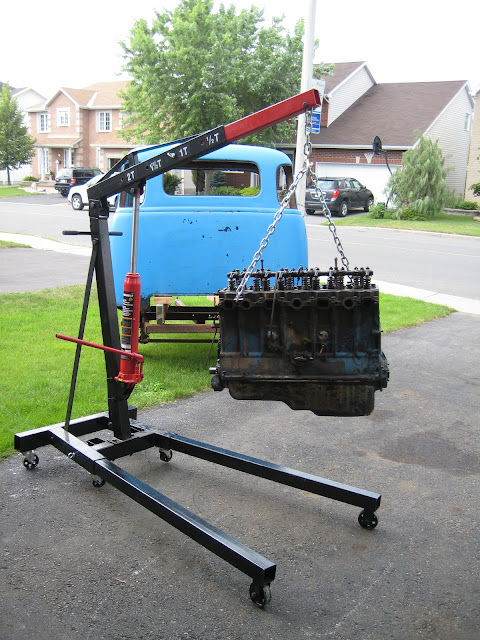
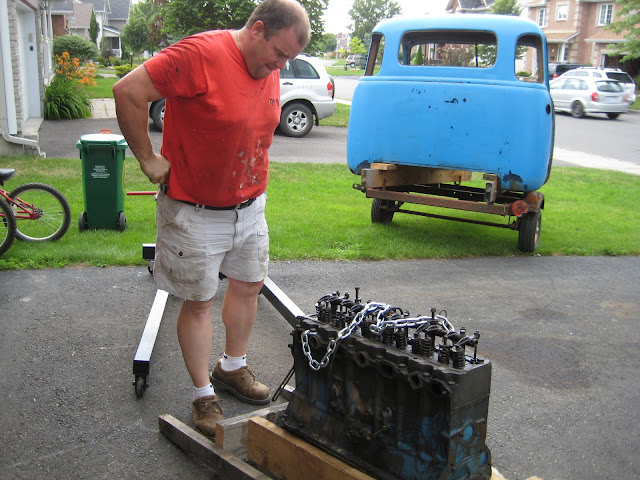
I don’t own an engine hoist, so I had to borrow one from my friend Bobby. (same guy who pressed my bearings for me) And the other small detail to iron out before pulling the engine, WHERE will I put it!? I don’t plan on reusing this engine, so putting it in a proper engine stand wasn’t desired. I had seen some mobile engine stands that guys had built which rested on castors. That’s where I got the basic idea for my stand, but I needed something with bigger wheels allowing me to transport the engine over grass to temporary storage beside the house. I decided to go with one of my kids discarded bicycles. The 12″ tires were perfect, and could handle the 400lbs! (I jumped on the bike prior!!)
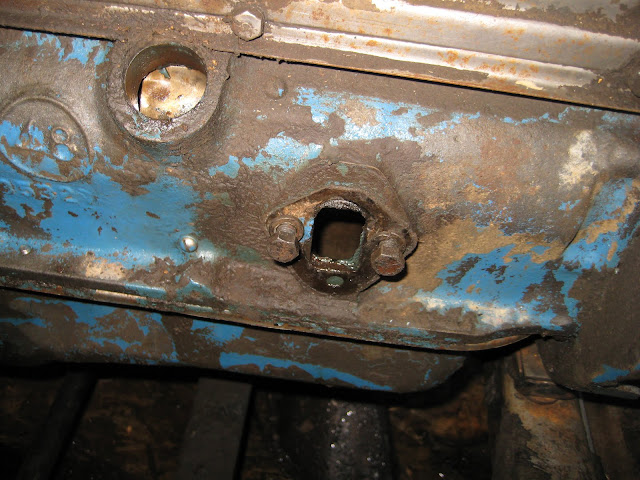
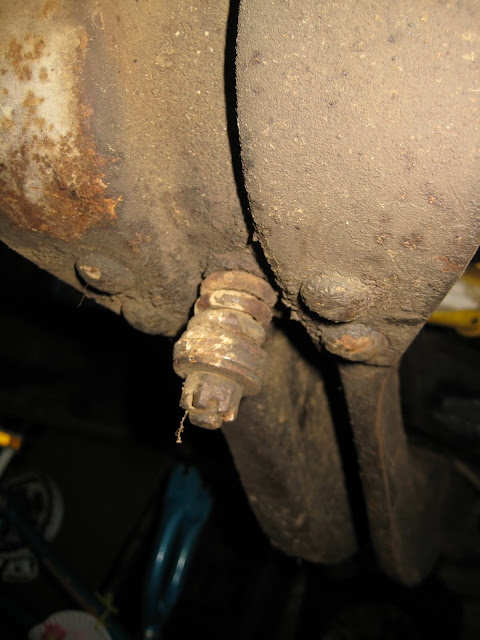
Time to pull the 216 – two bolts holding the bellhousing to the crossmember came out no problem. At the front I was surprised to see the engine wasn’t secured to the engine mount at all. It was only resting on it, with the two bolt holes braised over!

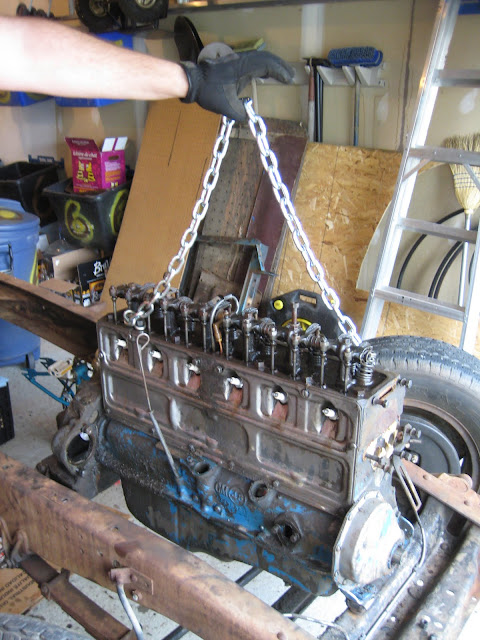
At this point I pulled the valve cover and remove two head bolts. the second from the end at the back on the left, and 2nd from the front on the right side. I fed each bolt through a 4′ length of chain and back into the block. Once the engine was supported by the lift, I proceeded to remove the bell housing. I had previously loosened the bolts on the bell housing while the engine was still mounted to the frame so that it would be easier to remove with the hoist suspending the engine.


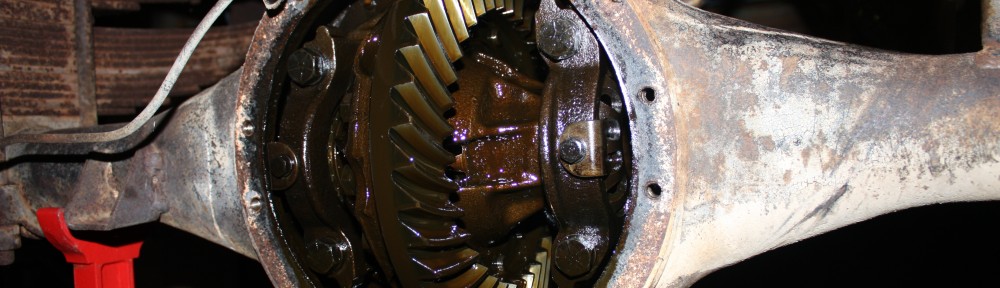
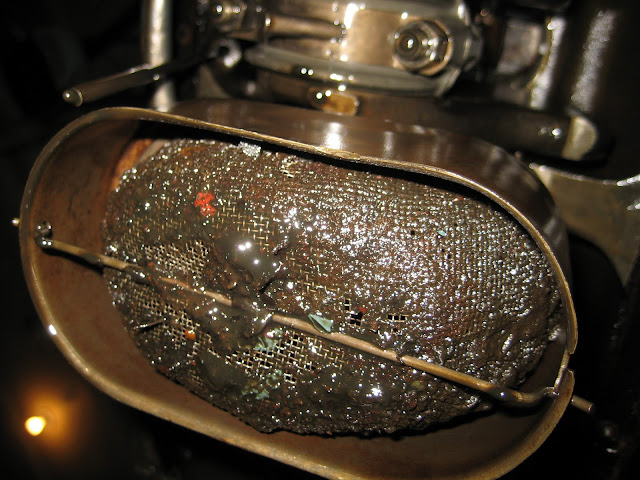
While I had it suspended with the hoist, curiosity got the best of me! I decided to remove the oil pan to see how things looked. I finally got my first glance at the dippers, the inside of the oil pan (which differed from the 235 oil pan), the oil pickup and rods. Nothing too surprising, a lot of sludge at the bottom, but overall, decent shape. It also allowed me to remove the timing over. This revealed a few cracked teeth on the gear!


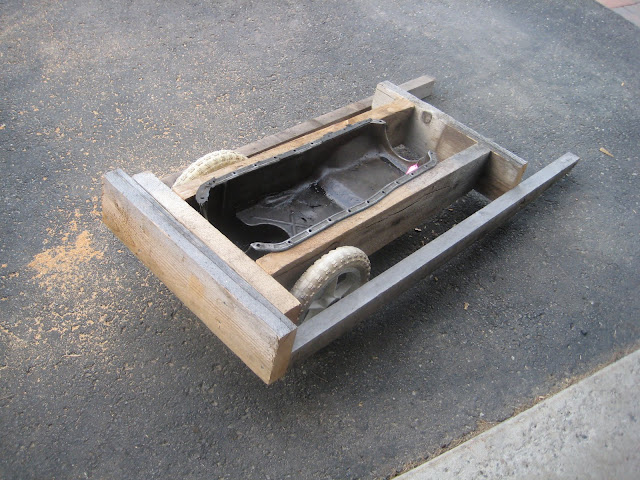
Finally into it’s final resting place in the engine cart, and a test of strength for me!

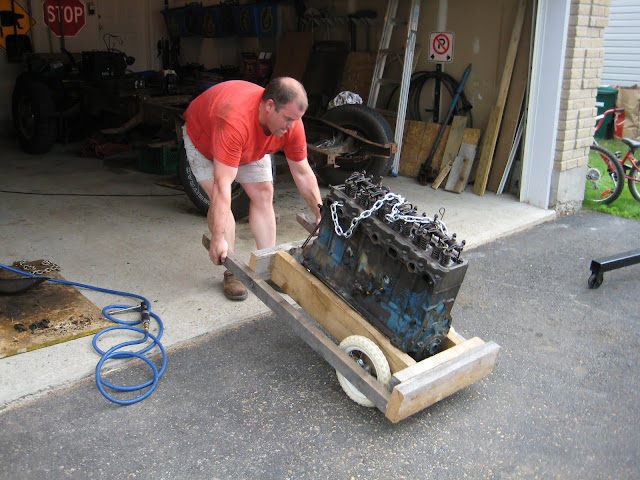
how’d you like wheeling the ol’ 216 around in that neat little cart you made? hope for your sake you don’t do that alot. you may blow a disc or drop a nut in the floor!
Haven’t had to move it TOO much – one fo the tires doesn’t hold air too well, so I have to fill it every week. But it’s only a stop gap until the engine finds it way to a barn to rest!
I would like to know where the oil line coming out of the block that feeds the rockers comes from inside the block
I don’t know what engine you are going to install, 235 you said, but be sure and research the water pump. It needs to set close to the center of the radiator, so you may have to see which one will work. I bought an adapter plate and drilled the holes in the block and then the correct water pump. All I’ll say is I won’t do that again. Not easy drilling into the cast iron. I’ll just by a shortened water pump. Just thought I’s throw that in. Also don’t “give” your 216 away. They are worth somethin to someone. Might off set the cost of something else your doing. You are doing great. I like the web site. Good luck. Steven “Red 49 Truck
Hi Steven,
Thanks for the note! Yes, I have a 1955 235 in the garage being cleaned up. I have however decided to go the route of the relocation bracket and the original pump (as you have) I have a second block that I plan to try it out on first, but I’ve been assured by other guys that it should be straight forward. I appreciate your insight and it’ll make me that more cautious when I goto do it. What problems did you have specifically?
I still have the 216 tucked away in a barn – and I’ve kept it for just that reason. Perhaps even another project of my own down the road.
Thanks for the comments – the site is lacking a few updates, but when I get down time I try to get updates up.
Mark,
I came across your site the other day. I’m going to need to build a cart like your’s. Do you think you could tell me the dimensions of yours?
Thanks!
Aaron
Hi Aaron,
That first cart I built I made in a pinch! I was dead set on pulling the old 216 and wanted to put it on something moveable. After I built it, I found the plans for this:
http://www.stovebolt.com/techtips/engine_dolly.html
It will give you all the dimensions you need. I picked up a second and third motor, and was getting ready to build the dolly specified above. I went to Princess Auto (similar to your Harbor Freight) and picked up 4 castors capable of moving the old stovebolt. After picking up the supplies to build it, the engine dolly they sell went on sale (as it regularly does) for $30. It was a no brainer.
http://www.princessauto.com/pal/product/8127821/
There are some options for you, good luck in your build!
Mark
Thank you for the knowledge on how to get the harmonic balance off doing a 1949 Chevrolet deluxe coupe send pix when I’m done
Glad it helped, looking forward to seeing your coupe!
Hey Mark
We both bought our 3800 series trucks at the same time many years ago. If youre ever in the Toronto area you need to come and see mine. All original with the 216 and it runs and drives great. A compleye thrill that I drive every night. I took it to a car show last year and won best in show. I also did a complete body off restoration and it turned out great. Wishing you the best of luck getting yours finished. Mine took 12 years!
All the best,
Brian
Text at 417 702 2350
Hi Brian – thats great to hear!
I still have the 49. It’s still in my shop. And I still dream of finishing it. Send me some photos!